A glance at the weather across North America, and no surprise, spring has arrived some places, while in other locales, deep winter has clawed back in. Jackson, New Hampshire, warmed to 59 degrees Fahrenheit today. Ditto in Lake Placid. A bit lower at 46 degrees in Hayward, Wisconsin, and a chance of rain. This morning in Bozeman, Montana was just below freezing with 92% humidity. It fell to – 4.3 degrees Celsius in Sovereign Lake, Canada, with clear skies. Light snow and -10 degrees Celsius in Whitehorse, Yukon.

No matter the weather, it’s time to think about prepping skis for the off-season. We are talking about cleaning, waxing, and storing skis for late spring, summer, and fall dormancy. We want your skis to be primed when the snow flies, depending on where you are (and crossing fingers), around mid-November next year.
Of course, if you are still skiing, you can wait for this. But if you are a racer, and the fleet needs to rest while warm dirty snow becomes omnipresent, or crust cruising awaits, it’s a good idea to take the following steps.
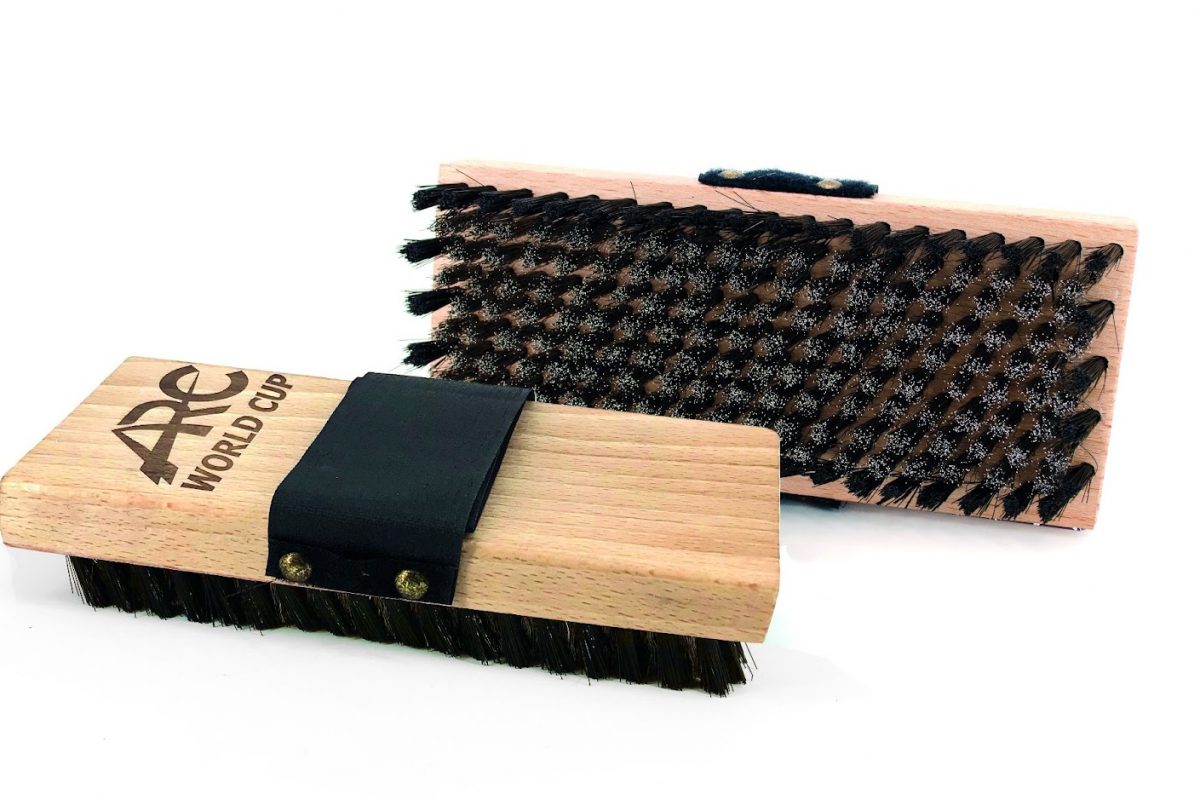
1. Clean and Storage wax your skis. The first step is basic – brush out the skis using a fine-steel brush to remove any excess dirt and/or wax from the structure. If you are the fastidious type, you can follow-up with brushing the base with a soft copper brush.
Preparing a classic ski for storage requires a clean kick zone before brushing. You can remove excess kick wax or klister by lightly scrubbing the kick zone with a piece of soft Scotch-Brite doused with wax-remover / base cleaner. (Remember, there is no need to scrub the kick zone aggressively to clean it.)
Here’s a video from Boulder Nordic Sport explaining the process of cleaning the kick zone.
Next, wipe down the base with base cleaner solution. Several companies manufacture traditional ski base cleaners and more eco-friendly solutions. Either way, apply the cleaner to a lint-free paper towel and wipe the ski base.
Following the cleaning, wipe any excess cleaner off. Now apply a soft low-melting-point wax to the entire base of your skate skis and the glide zones of your classic skis. No need to lay it on too thick, but ensure ample coverage using red or orange wax. That’s it. Place skis-ties loosely on the tips and tails and store them in a cool location preferably out of direct summertime sun.
This video from Boulder Nordic Sport also helps break down the basics for ski storage.
2. Clean your wax box. If you are a die-hard classic skier, start with the messy tubes of klister. You can clean tubes with either very hot water or wax remover. Be sure all caps are on tightly – as the temperatures rise, klister will flow, and a loose cap can mean a box saturated with stickiness. Also, check for punctures in tubes, and take a little time to salvage partially used tubes by running them under hot water and squeezing the remaining klister to the top and rolling the bottom up.
3. Take notes about your skis. During the season, you probably learned new things about how your skis performed. Maybe a certain pair performs exceptionally well in cold aggressive snow, maybe another is more stable skating on boilerplate. Catalog this information. You’ll get a better understanding of how to modify your ski fleet (if you have and want one) in the future.
This is also a time to note which skis you need or want to have stone ground. Sure, it is early, but get ahead of the curve and look into possible grinds and when is a good time to ship skis off for grinding. If you are sending skis in for grinding, most ski service providers will ask that you scrape the wax off the bases before shipping.
4. Evaluate equipment. In a similar vein, make a list of equipment that you either need or would like to have for the following winter. Maybe you need to replace a strap on a pole, need a new long underwear top, or wish you had an insulated drink belt. It is a great time to shop as many ski stores have end of winter sales. And if you can’t get it now, be sure to add it to your list, so you can prepare next fall.
Wax is another important item to evaluate. Right now, you probably have a good sense of what you used throughout the season. Go through your kick and glide boxes and make a list of what you need to replenish your supply. Also, the industry is changing. Racer or not, all ski wax companies are moving towards the soon-to-be fluoro-free future. Maybe check online or with your local shop and get the beta on what new waxes have run well this season and in what conditions. Testing waxes can be a labor intensive project. Your local cross-country ski shop is a valuable resource for waxing knowledge.
5. Other things to double-check.
Ski bags – They take a beating during the winter, especially if you fly. Mend now and clean them out.
Bindings – Check that all bindings are functioning properly. When bindings wear out, they won’t hold the boot properly. Attach your boot and look for play when you twist it side to side. Be sure bindings are dry and consider oiling to prevent rusting of metal parts.
Wax room. Clean it. Clean it again.


