Covering the basics with Lina Hutlin. With the growth of cross-country skiing, we decided to literally get back to the basics. We understand not all coming to the sport arrive with an encyclopedic knowledge of how and where to start. That’s where this series comes in: It’s for those new to cross-country skiing or those looking for an easy entry point for ideas on how to wax, what skis to buy, and literally placing one ski in front of the other. Feel free to email info@fasterskier.com for topics you would like covered.
Welcome to the sport of cross-country skiing! Growing up in Sweden, I started skiing as soon as I could walk. The skis I first used were for little tykes, maybe 90cm long, and a binding that accepted any kid’s snow boot. High tech? Certainly not. But it was enough to lure me outside again and again for skis on the endless homemade trails created in my backyard. Back then, with a toddler’s low center of gravity, shuffling around and then properly striding seemed second nature. Today, as an adult, if I were to balance on cross-country skis for the first time I would most likely be overwhelmed not only with the physical challenges but with the cross-country specific jargon thrown about on and off the trails. Learning English as a second or third language for me was problematic enough, I can imagine how daunting hearing terms like skins, klister, grind, flex, scrape-brush-polish can be.
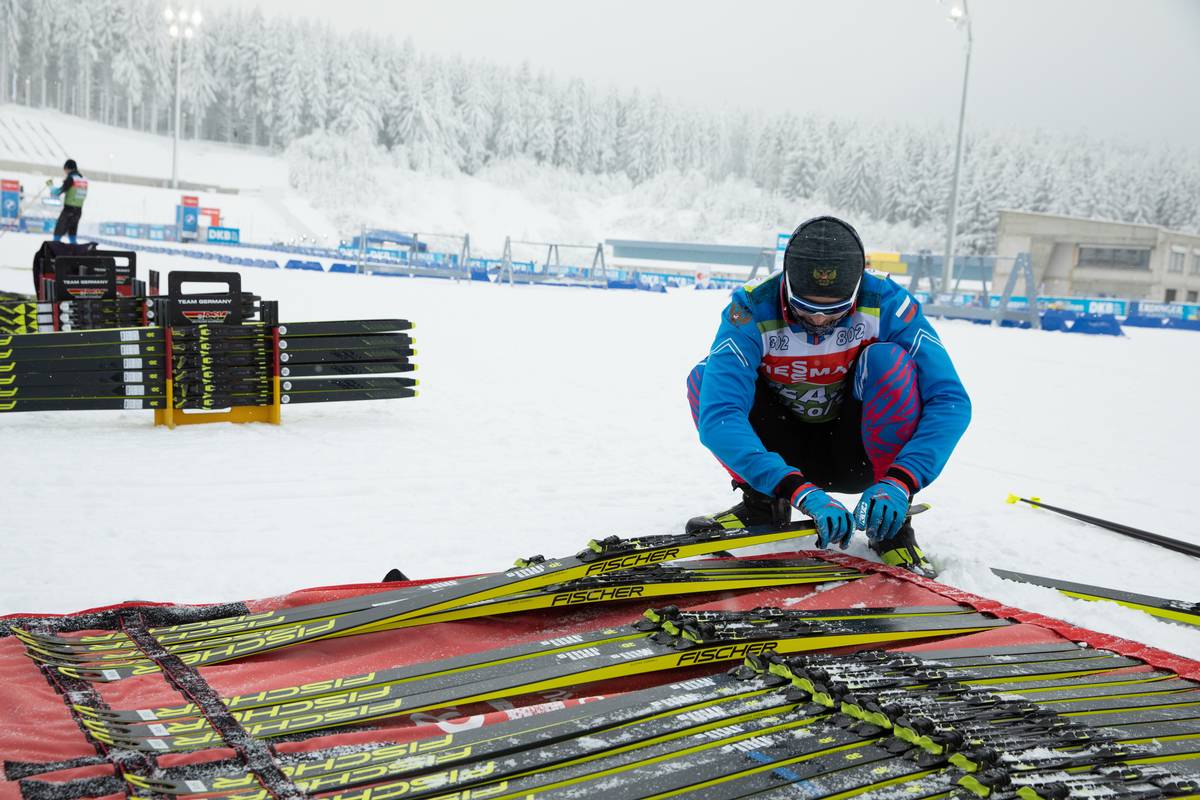
Skis
Let’s get to the basics. There are two types of skis, skate and classic skis. Classic skiing in the original way to cross country ski. This technique was originally used as a way to get from point a to point b back in the days when the snow was too deep to walk in. Classic skiing is basically like walking/running 2.0. The bases of classic skis are about ¾ for glide wax and ¼ for kick wax. Skate skiing came into play at the beginning of the 20th century but was widely adopted first in the 1980s. Skate skiing uses a similar motion to move down a trail as one would use ice-skating. To skate properly, you need a groomed trail, a thin layer of snow on top of a frozen lake, or a solid crust on an open field. It’s most often the speedier of the two techniques and has some cache in the endurance sports community. Skate skis are shorter than classic skis and the bases of skate skis are for glide waxing only.
Investing in a good pair of skis can last you a lifetime and provide lots of joy. But there is a jungle out there, so what do you look for? Buying a new pair of skis on the internet or in a local store works fine. Remember, we’re here to get the basics of the sport down. Things like proper balance and timing. The speed and race glory can wait. So maybe it makes sense initially to save a few dollars and not splurge for the carbon-intensive race gear. Beginner and intermediate equipment, although heavier, will suit you just fine as you make progress.
Make sure to provide the retailer with your height and weight so that you get a properly flexed ski. The flex of the ski is important for both classic and skate skis. For example, a too “stiff” classic ski will feel “slippery” no matter how much kick wax you apply and a too “soft” classic ski will feel “draggy” no matter how good your glide wax is. So simply finding the right length ski is not enough, you have to get the right flex for your weight/strength. Depending on what type of terrain you are looking to ski in there are a few different types of skis to look for. If you don’t have access to groomed trails and will use the skis in the backcountry, “old school” wider classic skis work the best. If you have access and interest in skiing on groomed trails the “skinnier” skate and classic skis works great. Buying a used pair of skis can be as good of an investment (if not better as you are saving the planet’s resources) as a new pair of skis. This is however ONLY if the skis has a proper flex for your weight/strength. Buying skis that fit you will save many headaches when it comes to waxing and enhance your enjoyment of skiing.
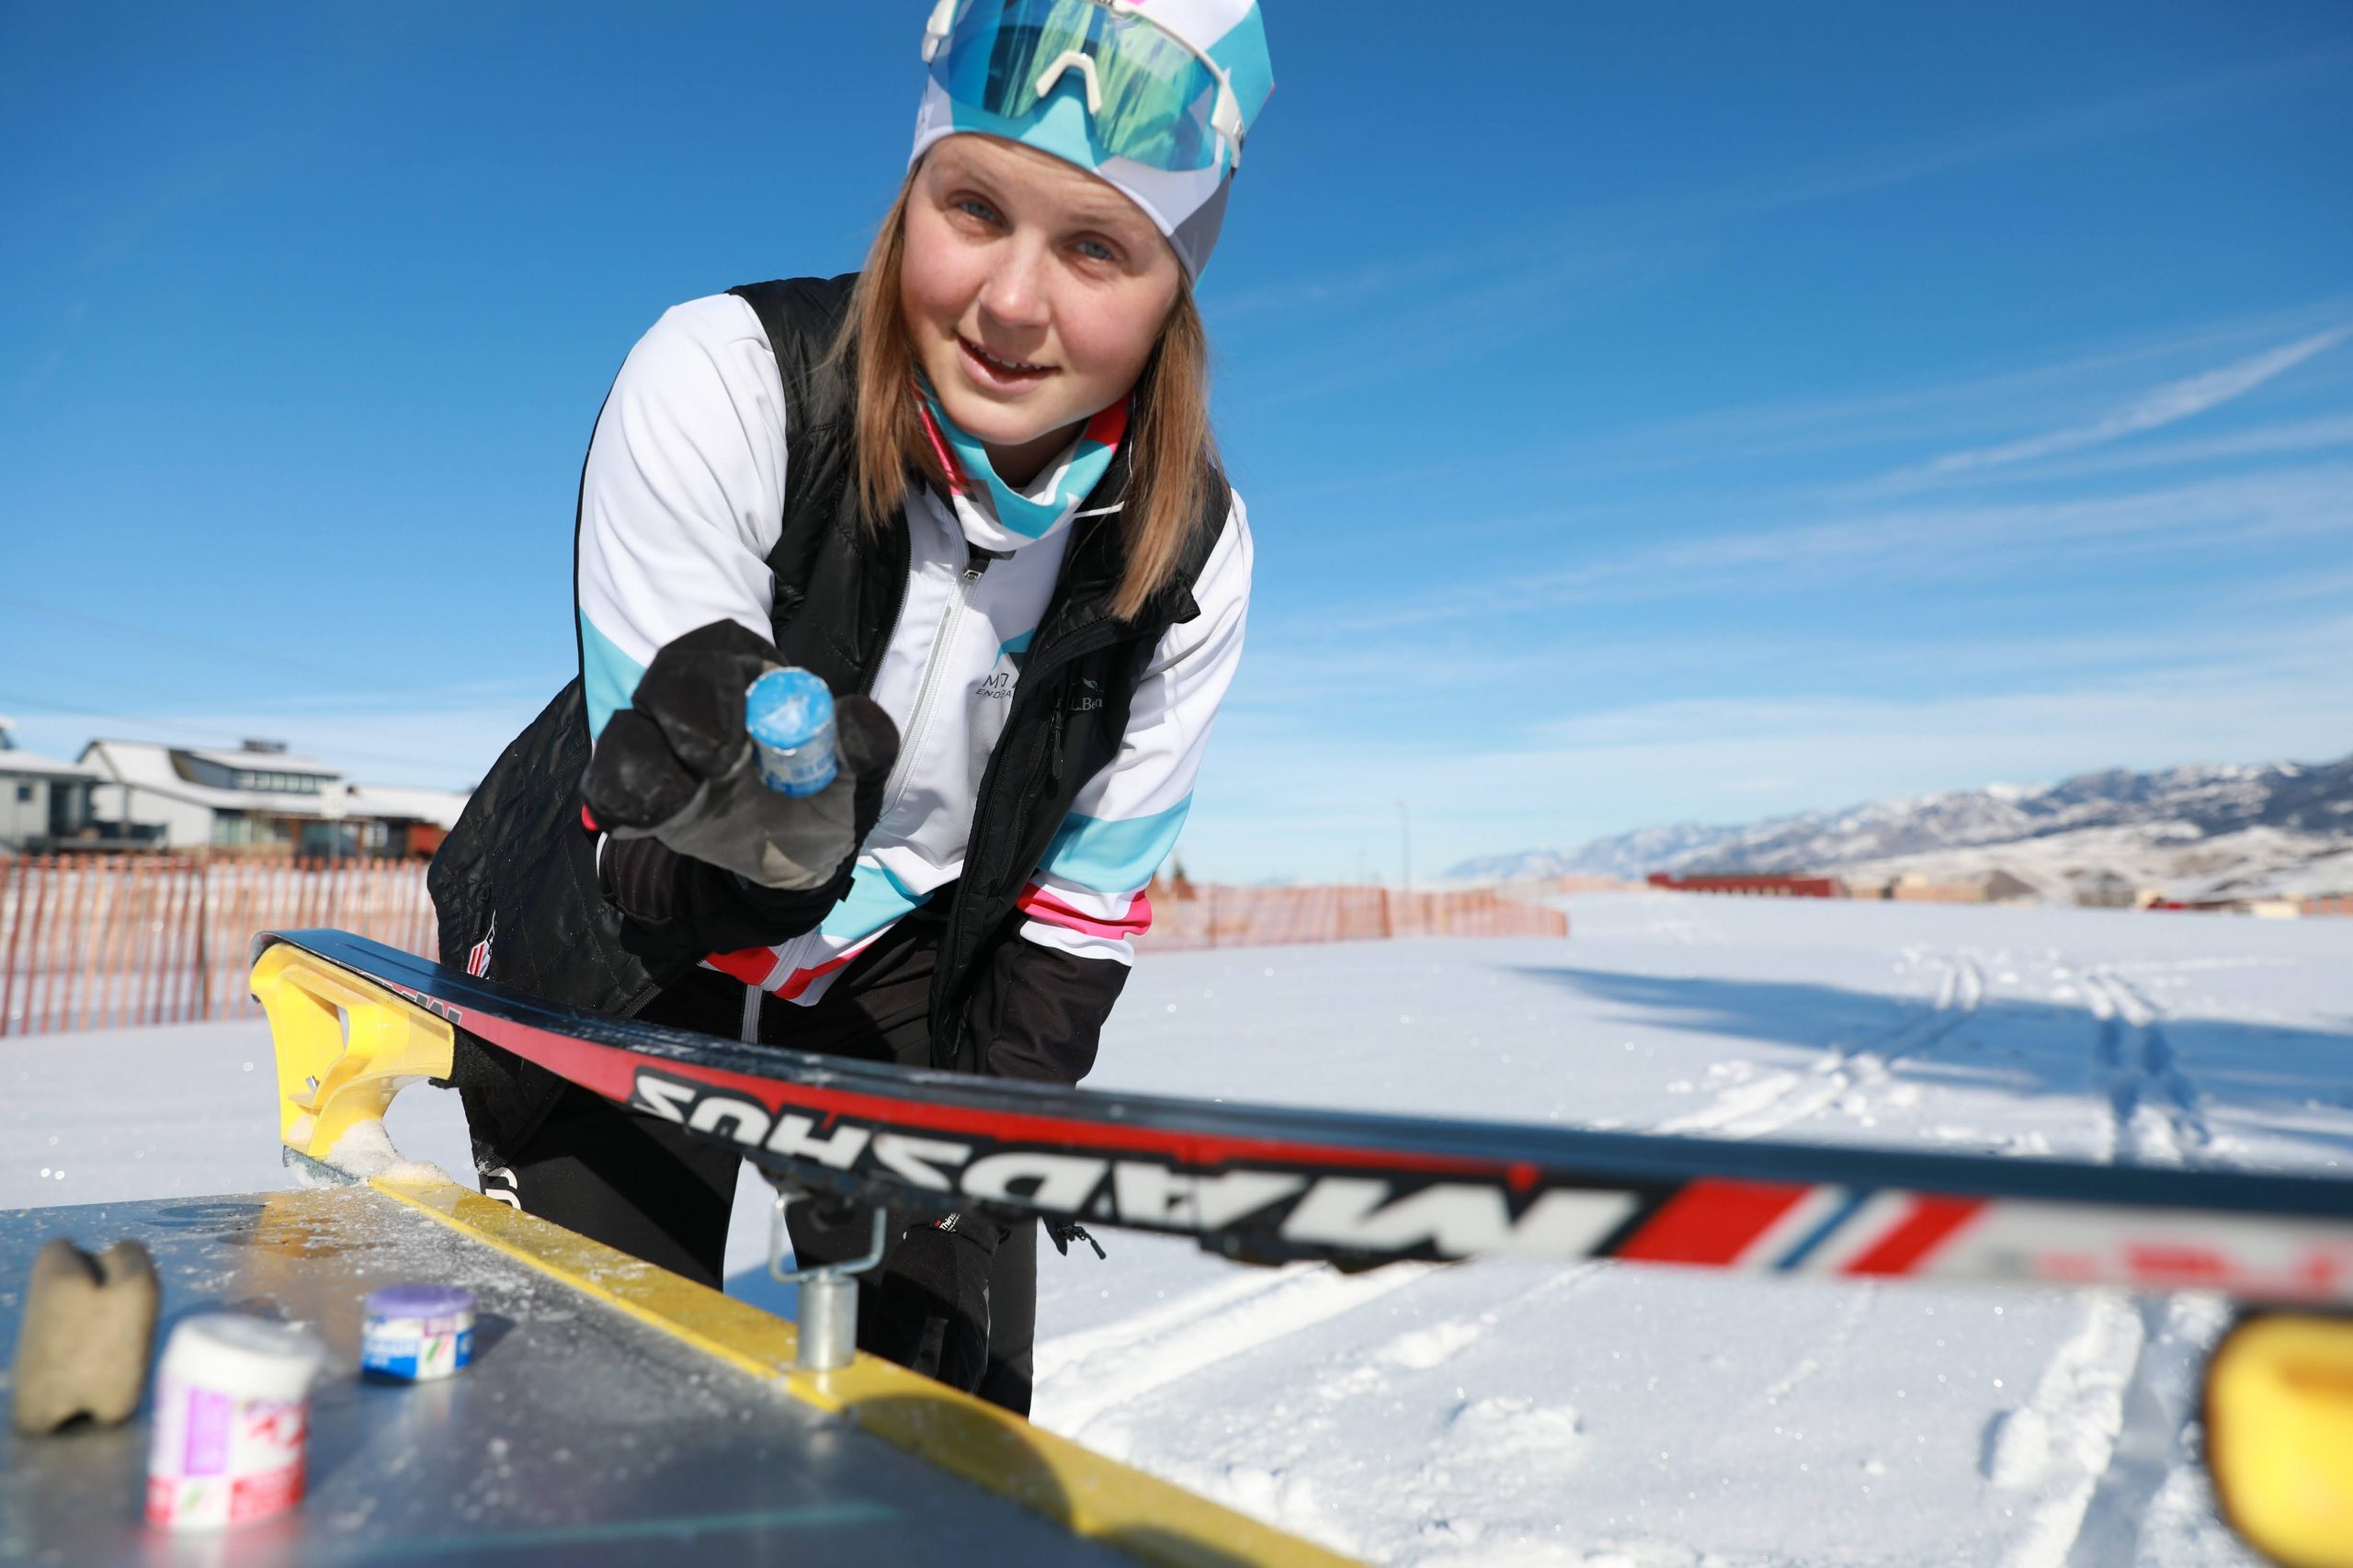
Waxing Basics
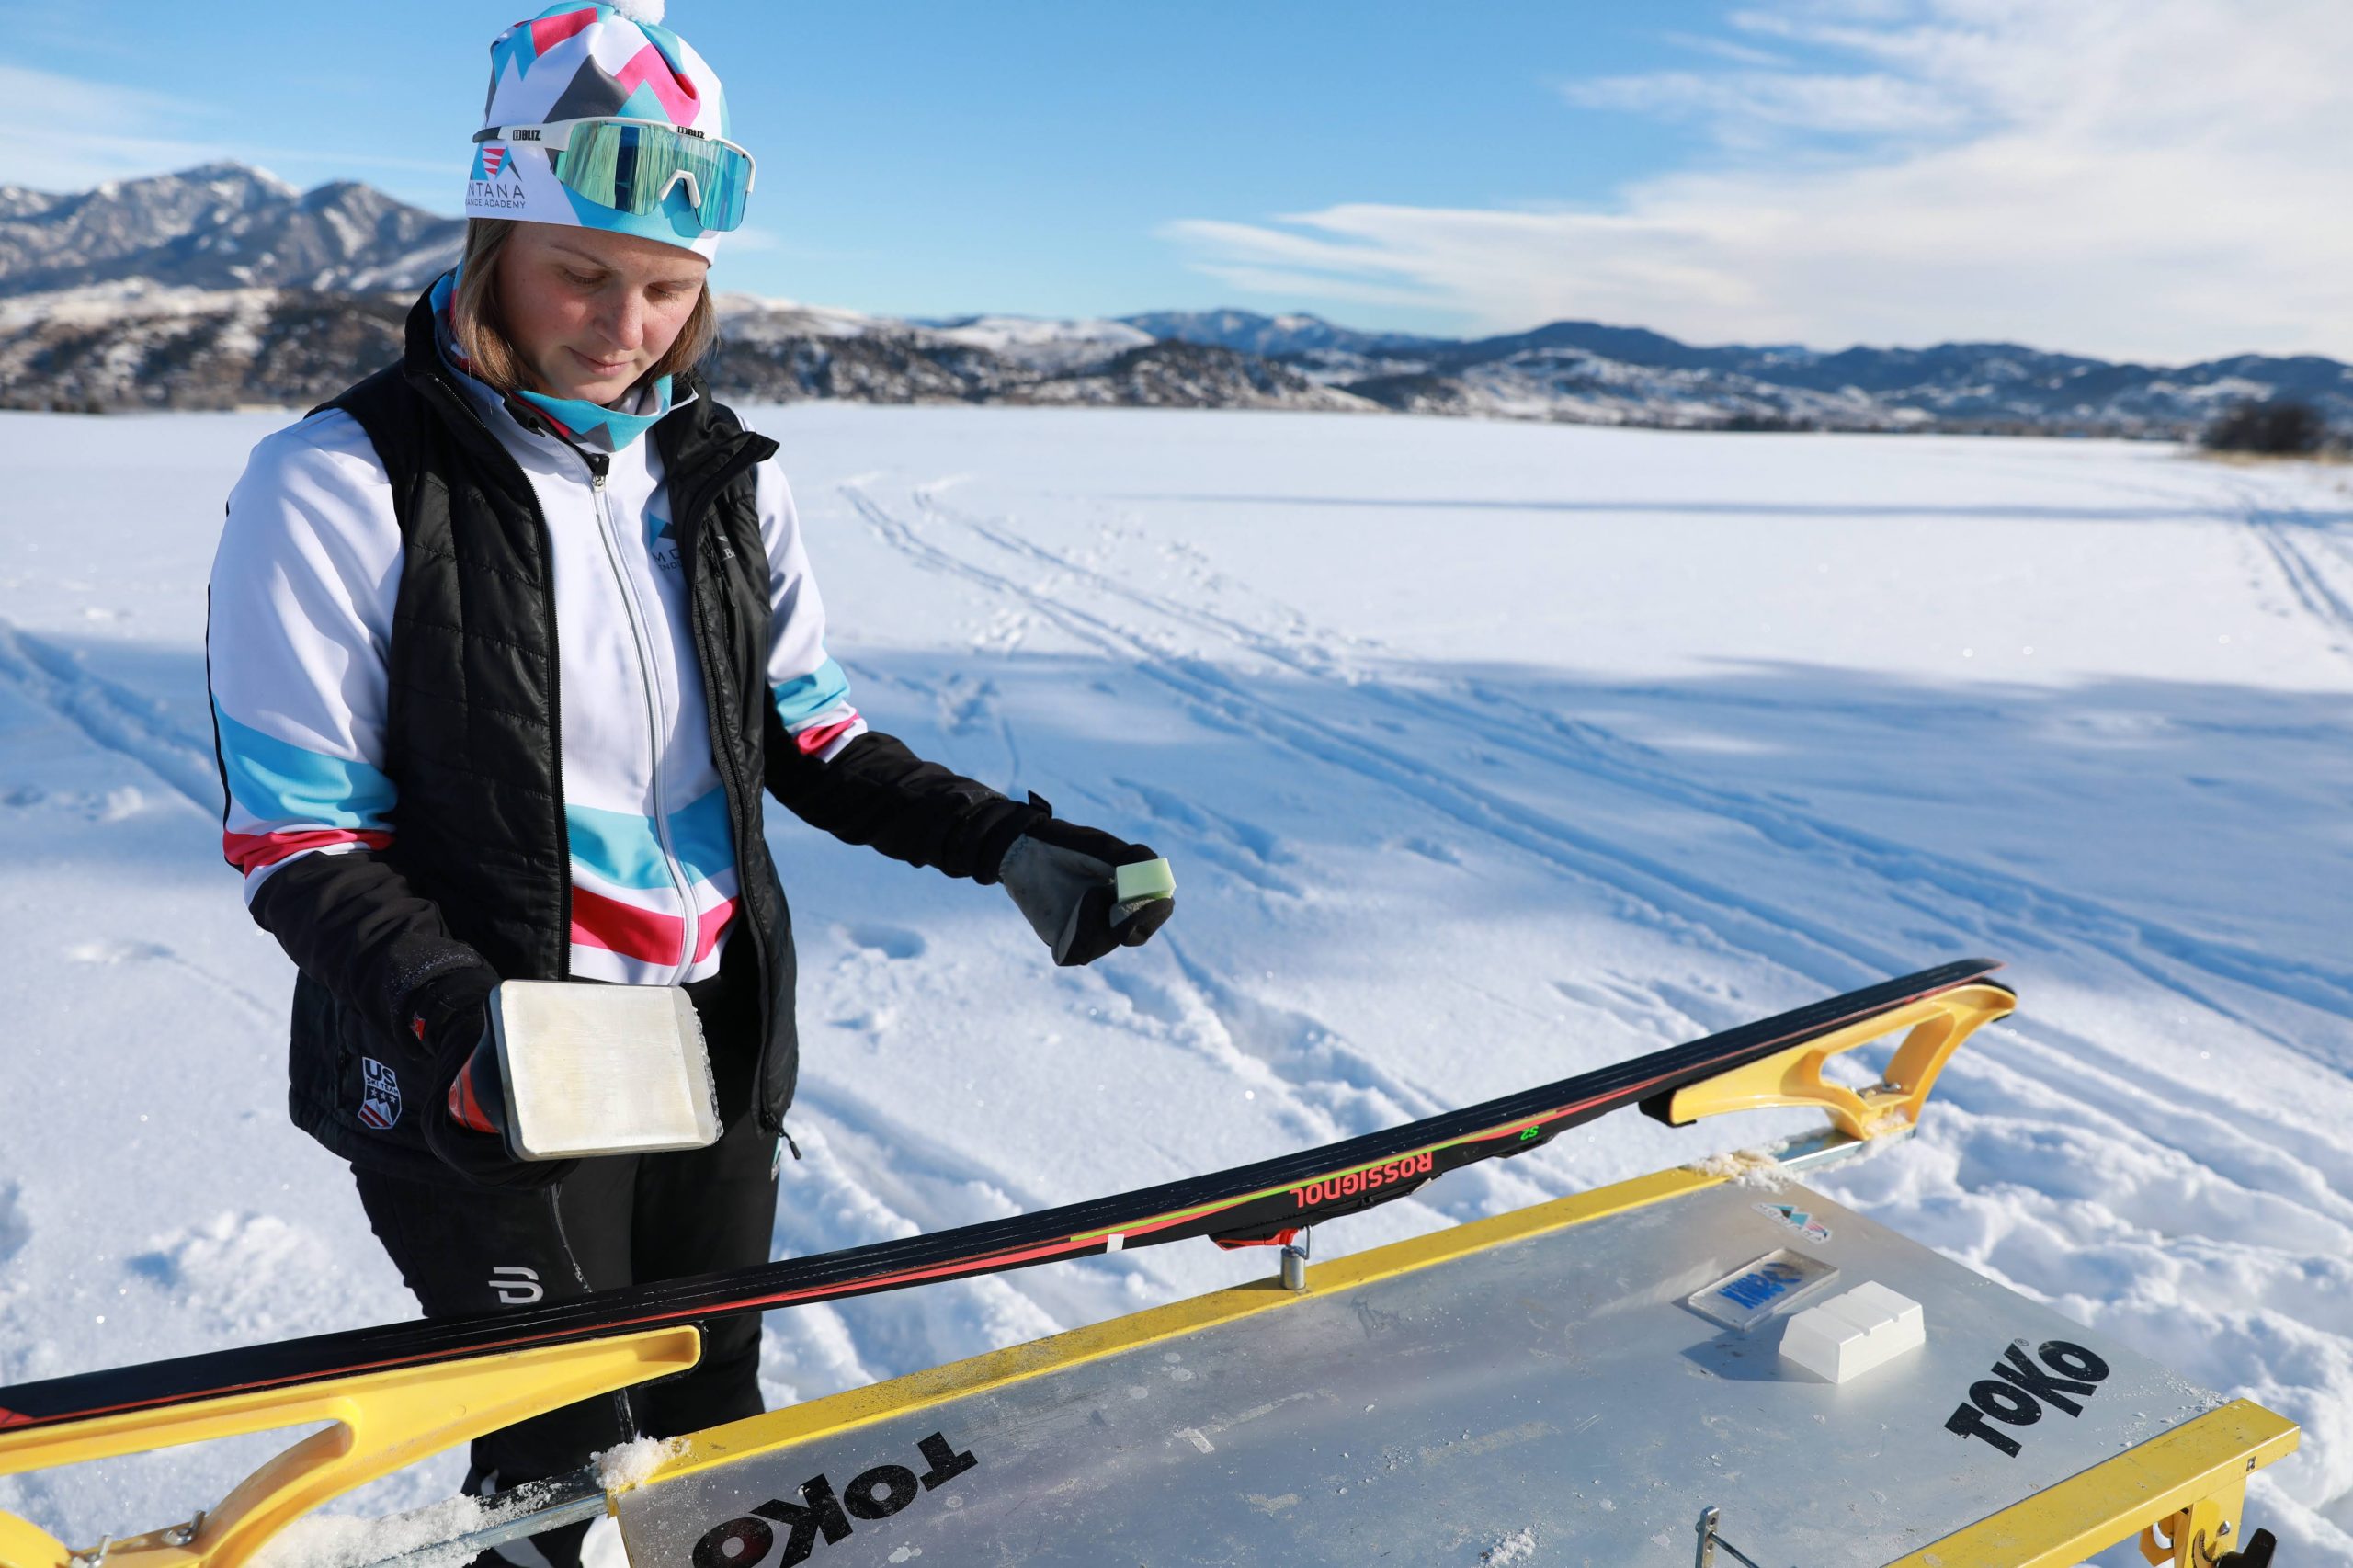
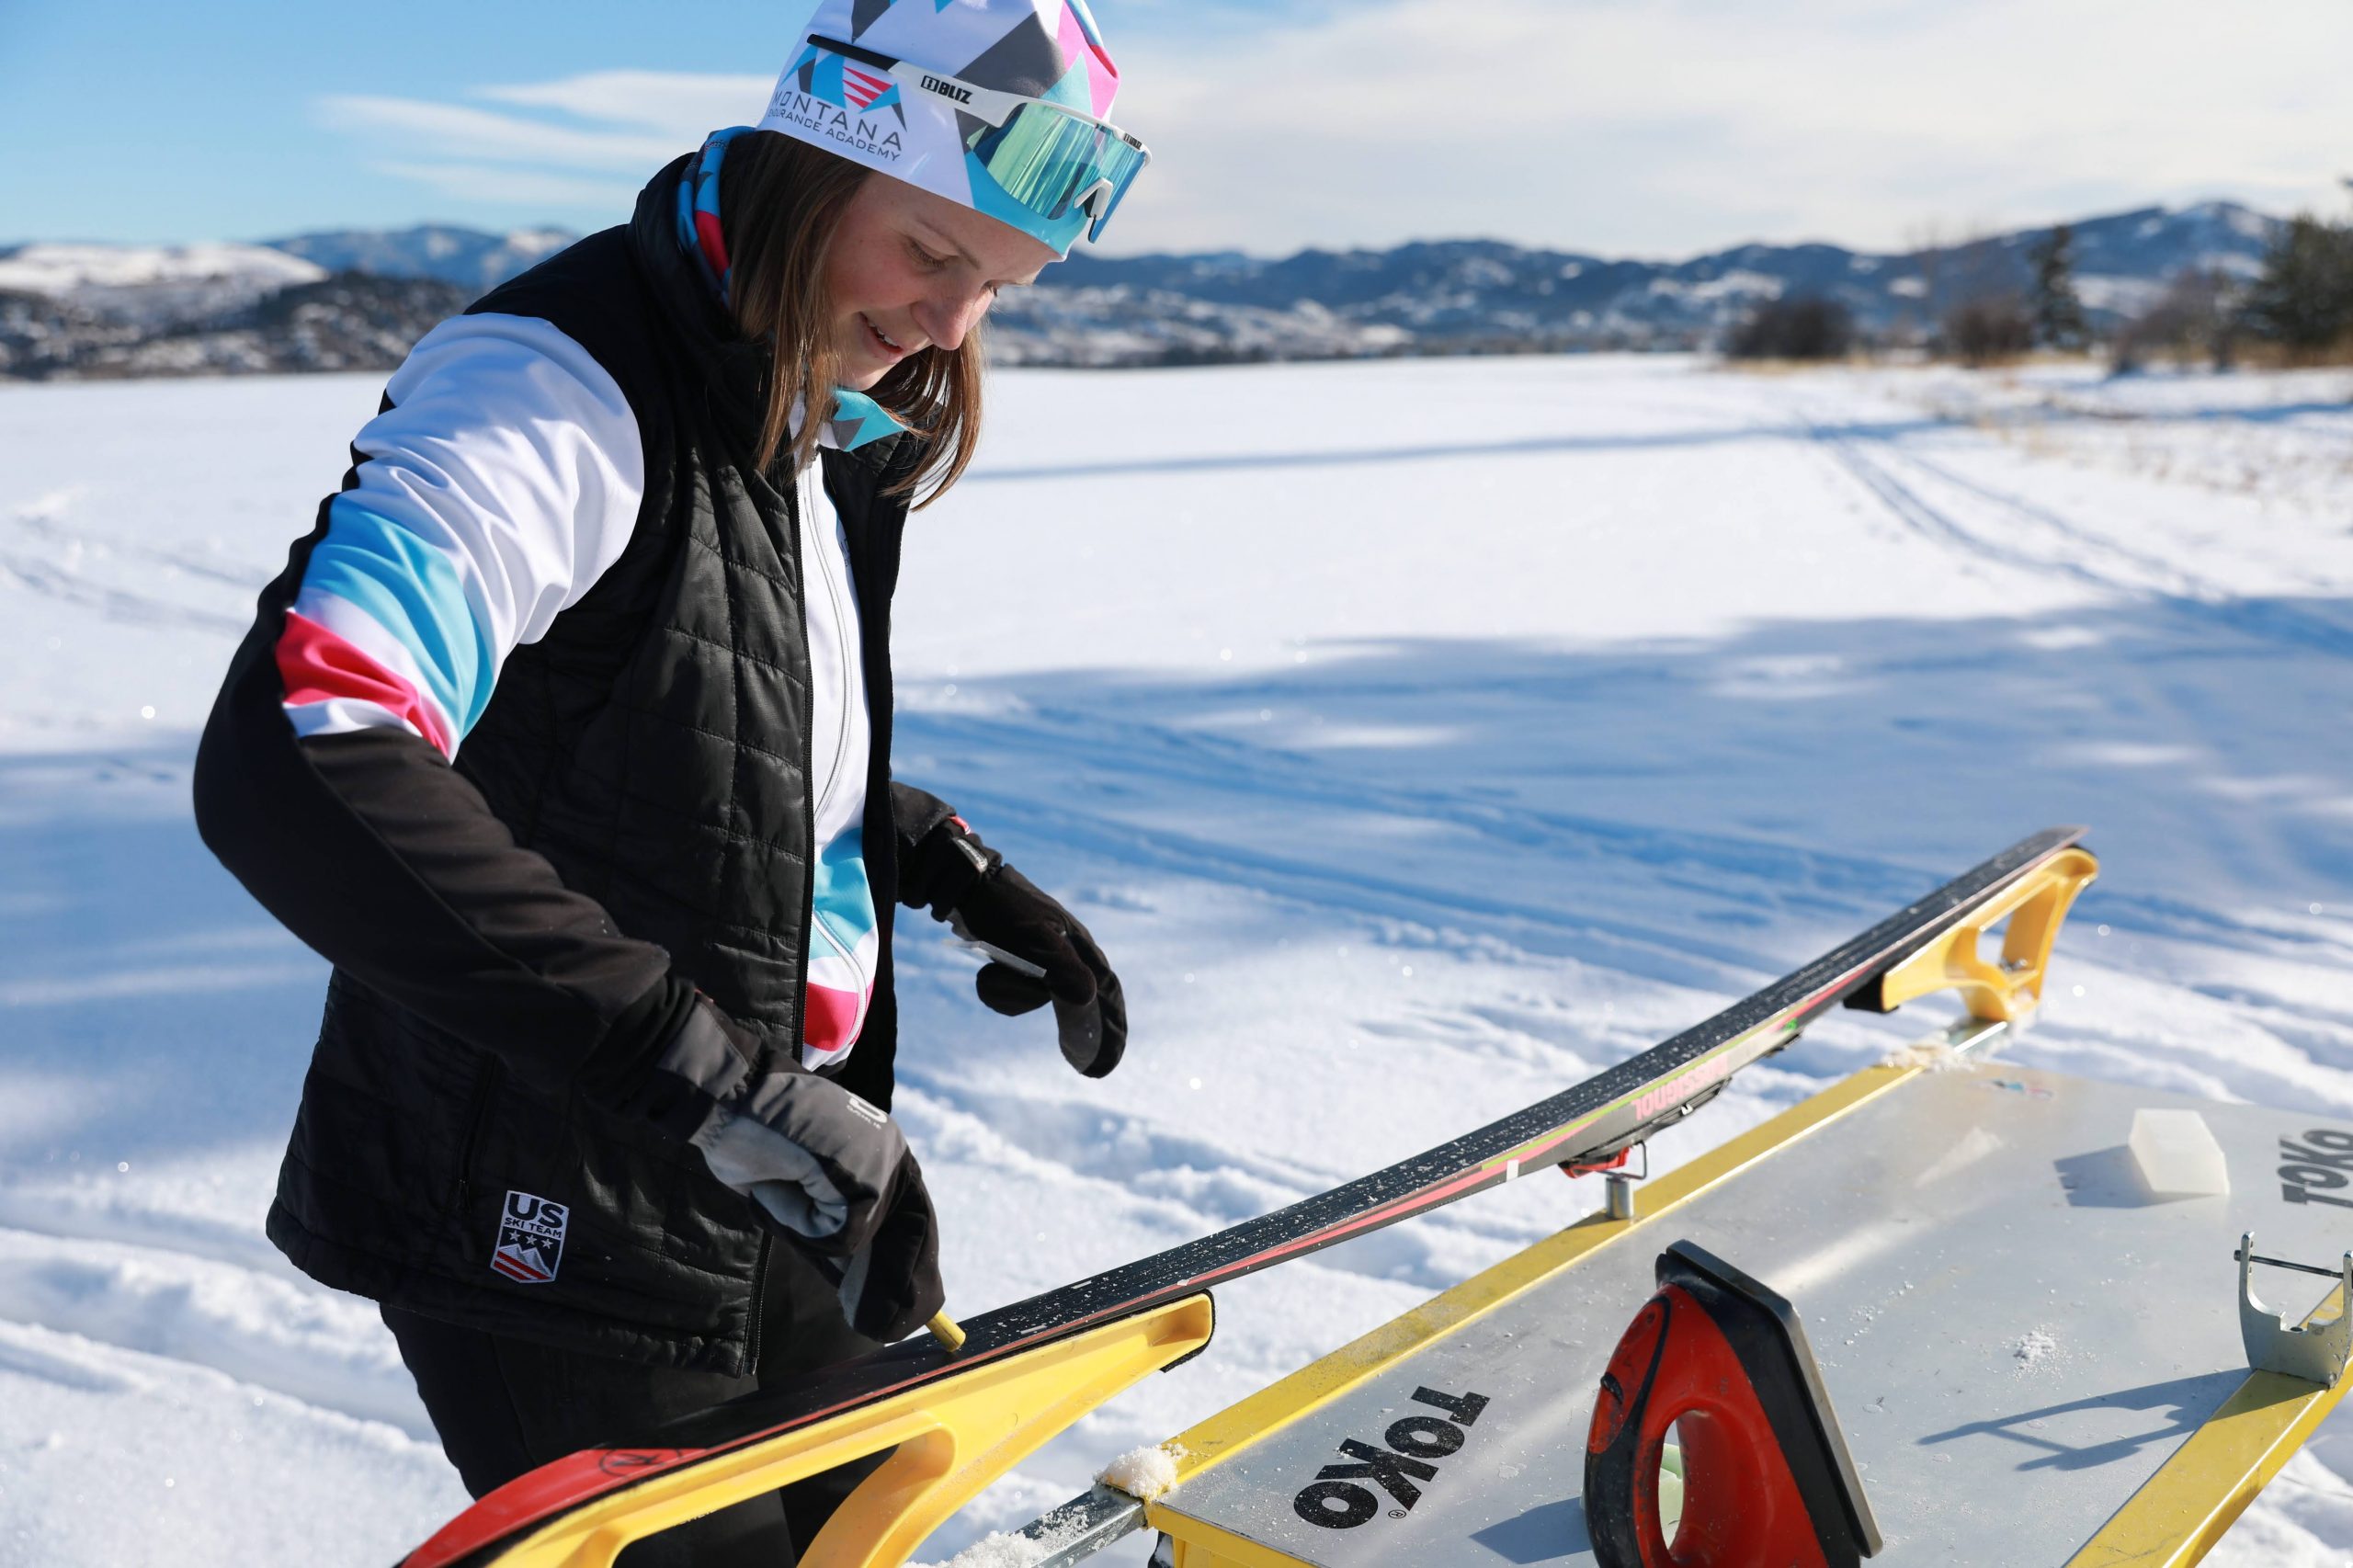
You have the skis. Now it’s time to apply glide wax. There are two ways you can do this. Either by using an iron and applying hot paraffin to the base of your skis or applying it in a liquid form from a spray or rub-on container. The traditional way is to use the iron to apply glide wax but the newer liquid products are improving every year and come in handy if you are new to the sport and don’t have a wax bench and iron ready to go.
Since we are dealing with an outdoor sport, we have to adapt to the conditions we are given. The same goes for choosing a wax. It’s a good idea to invest in a few glide wax products that cover a wide range of temperatures. Most brands use a similar color code for their wax products. Investing in two or three different glide waxes from one brand is a good idea. For example, you can get a cold wax (often blue), mid-range wax (often purple), and a warm wax (often red/yellow).
Often these things are sold in multipacks for your convenience. Check the air temperature outside (as well as the snow temperature if we want to get nerdy) and choose the wax which is in the right temperature range. Now you are ready to wax.
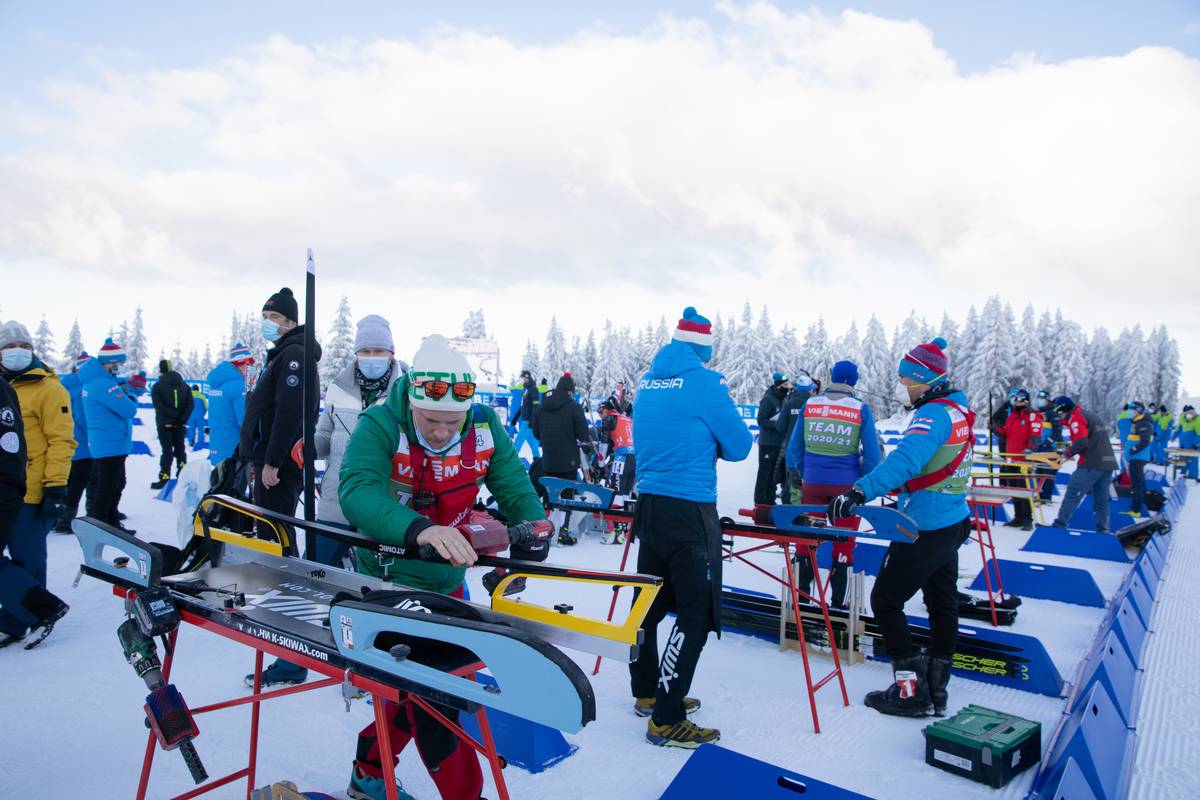
Applying Paraffin with an Iron
First, make sure to be in a well-ventilated room. Set the iron for the temperature recommended on the glide wax packaging. There are multiple ways to apply wax with an iron. You can hold the wax to the iron as it’s angled towards the ski and use the “drip method” or you can quickly heat the wax on the iron and then scrape the heated wax block onto the ski. The latter one typically saves you wax (and money). Make sure that the ski has an even cover of wax and begin and begin moving the iron from tip to tip in one forward motion. If the temperature of the iron is right for the wax, the iron should be gliding easily over the base of the ski. What we want to avoid here is to burn the ski bases. Repeat this many times remembering to keep the iron moving and not settle on one spot – rather than melting the wax along the length of the ski moving the iron from tip to tail one … slow… time. The longer the iron is touching the ski base, the greater the likelihood you’ll burn the base.
Make sure to let the ski cool so that it feels cold to the touch before you go over the ski with the iron again. The ironed ski should have an even layer of wax ironed in it but it doesn’t have to look perfect. Put the ski to the side and let it cool while you apply wax on the next ski.
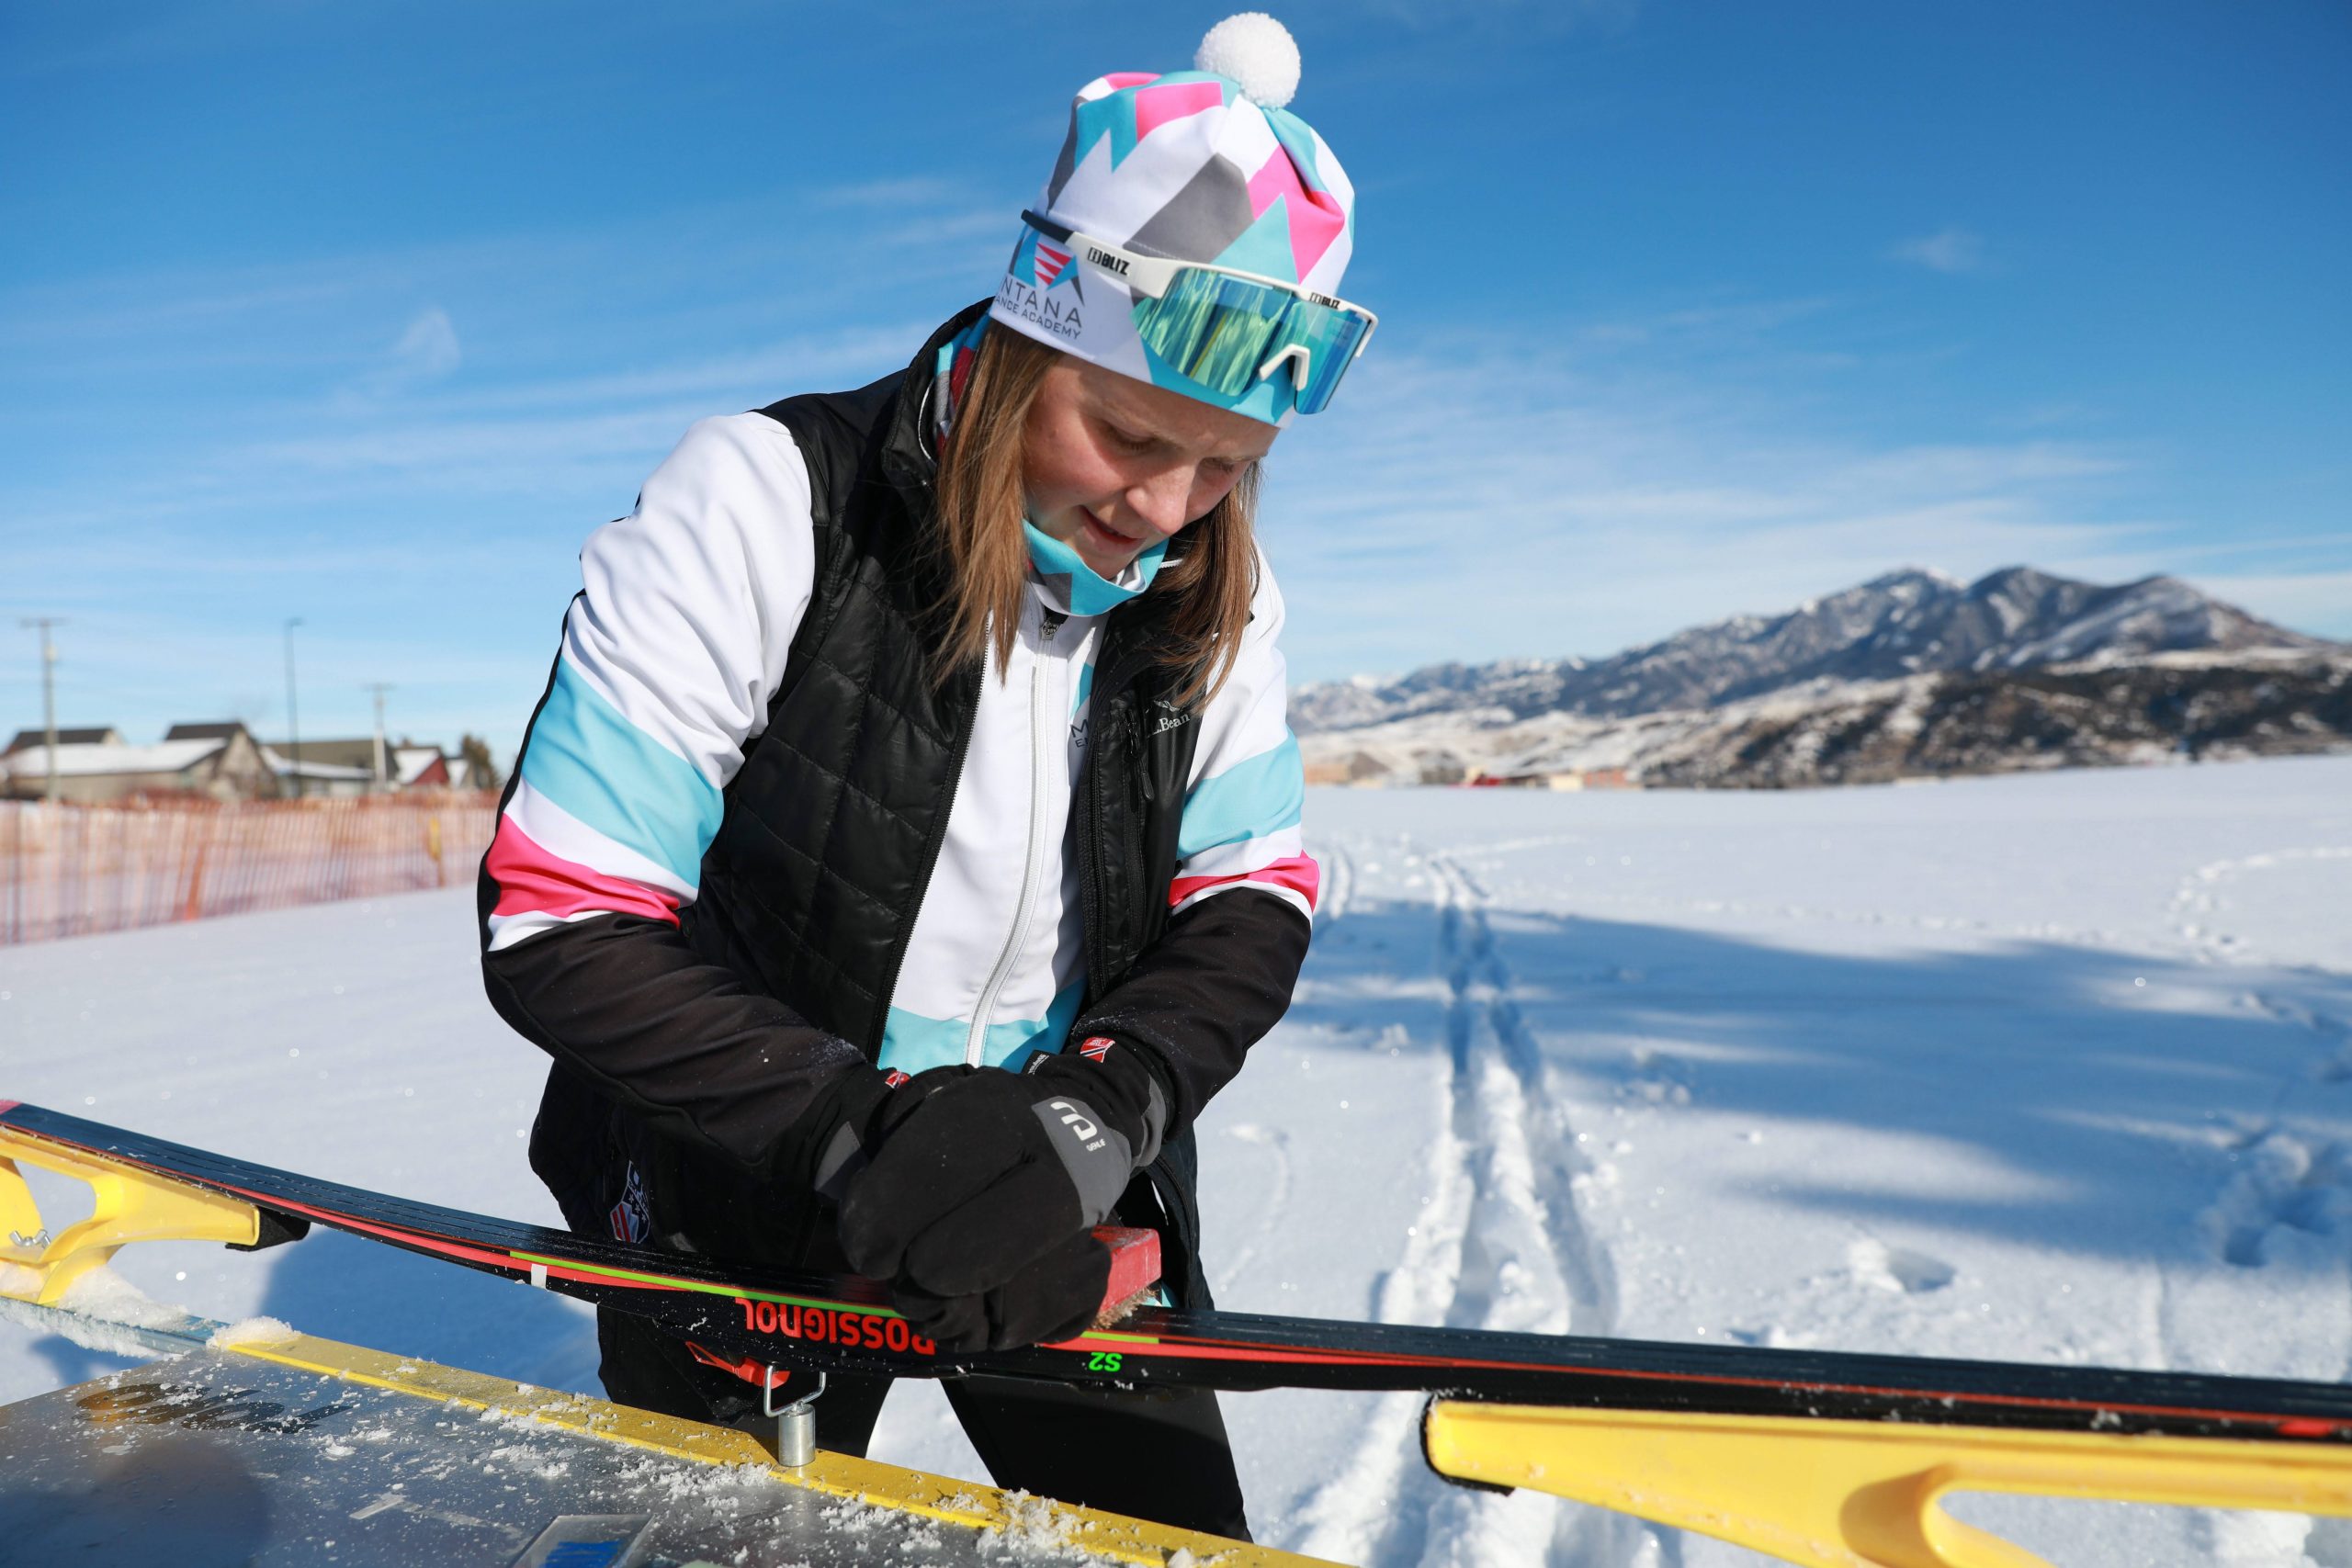
Scraping
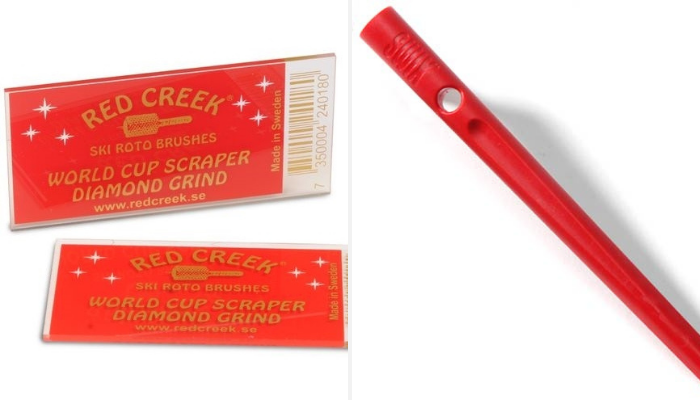
When the skis have cooled down, it’s time to scrape the wax off. Start with scraping the sides of the ski and then the groove (grooves) on the ski base with a designated groove scraper. The grooves on the ski base help the ski track better promoting ski stability.
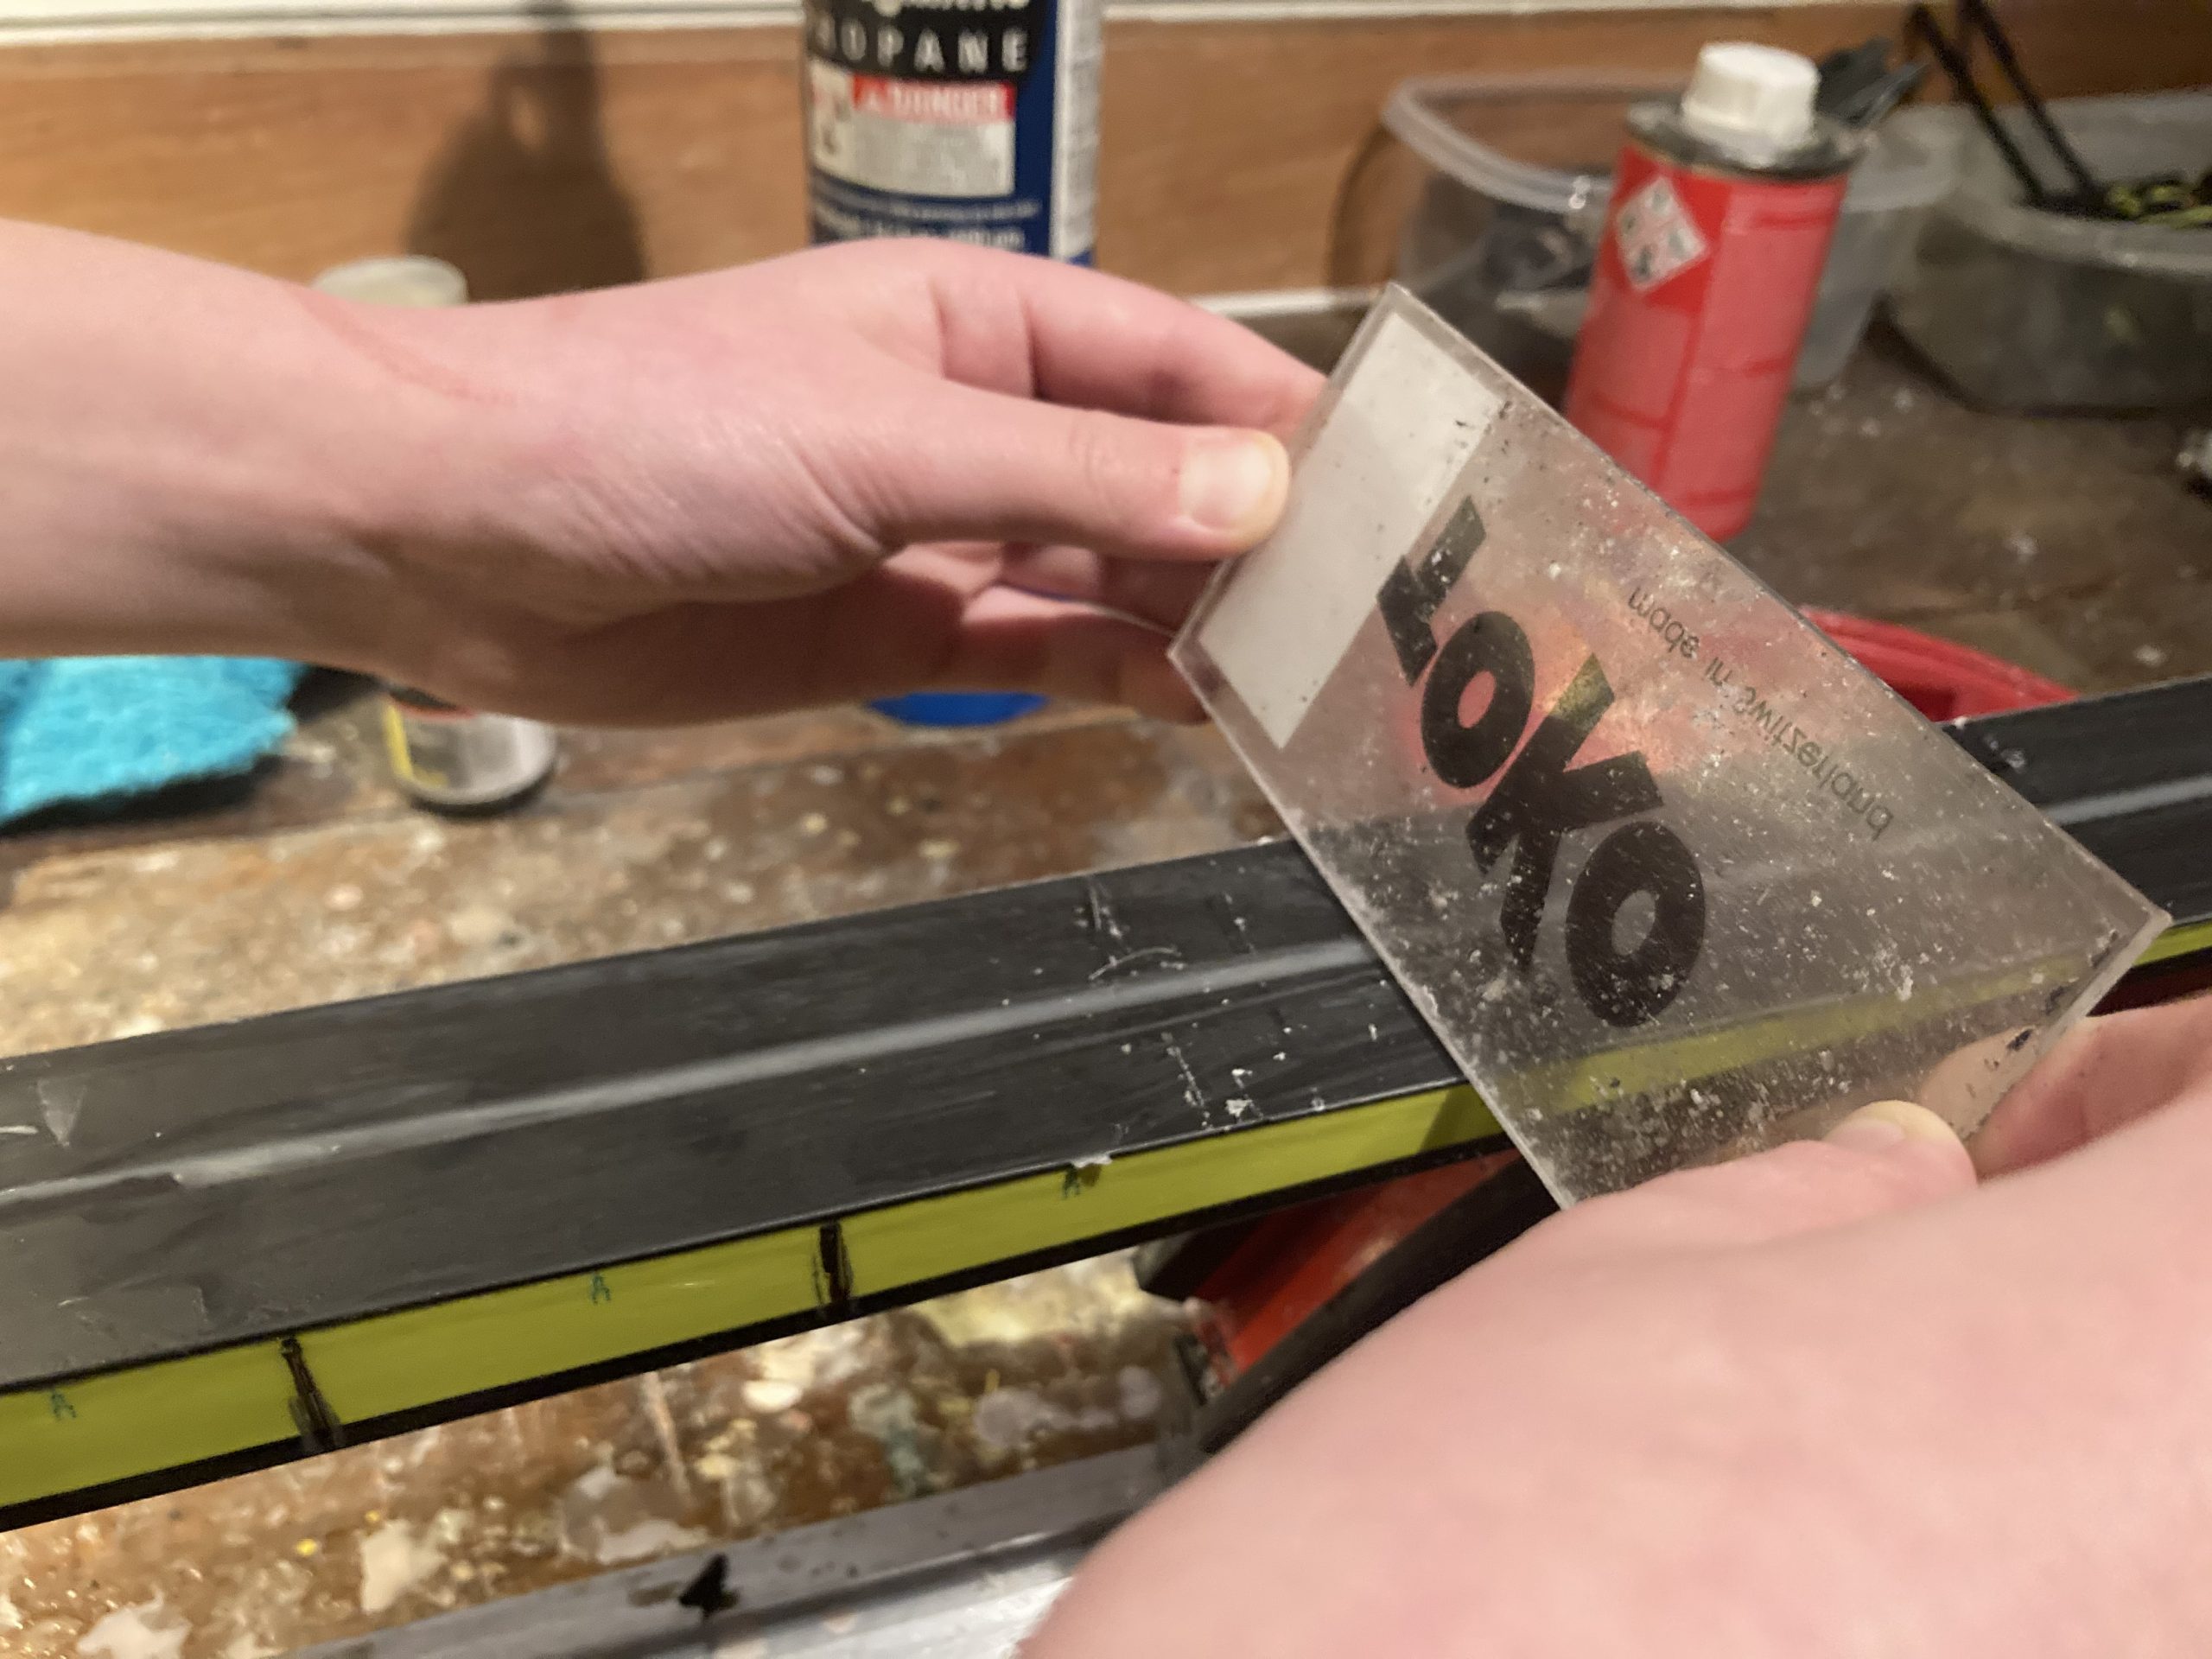
Use a scraper to scrape off as much excess wax as you can. Again go from tip to tail in the direction the ski will glide on snow. Use your thumbs as support and guidance to keep the scraper straight. Hold the scraper at a 45-degree angle to the ski base.
Brushing
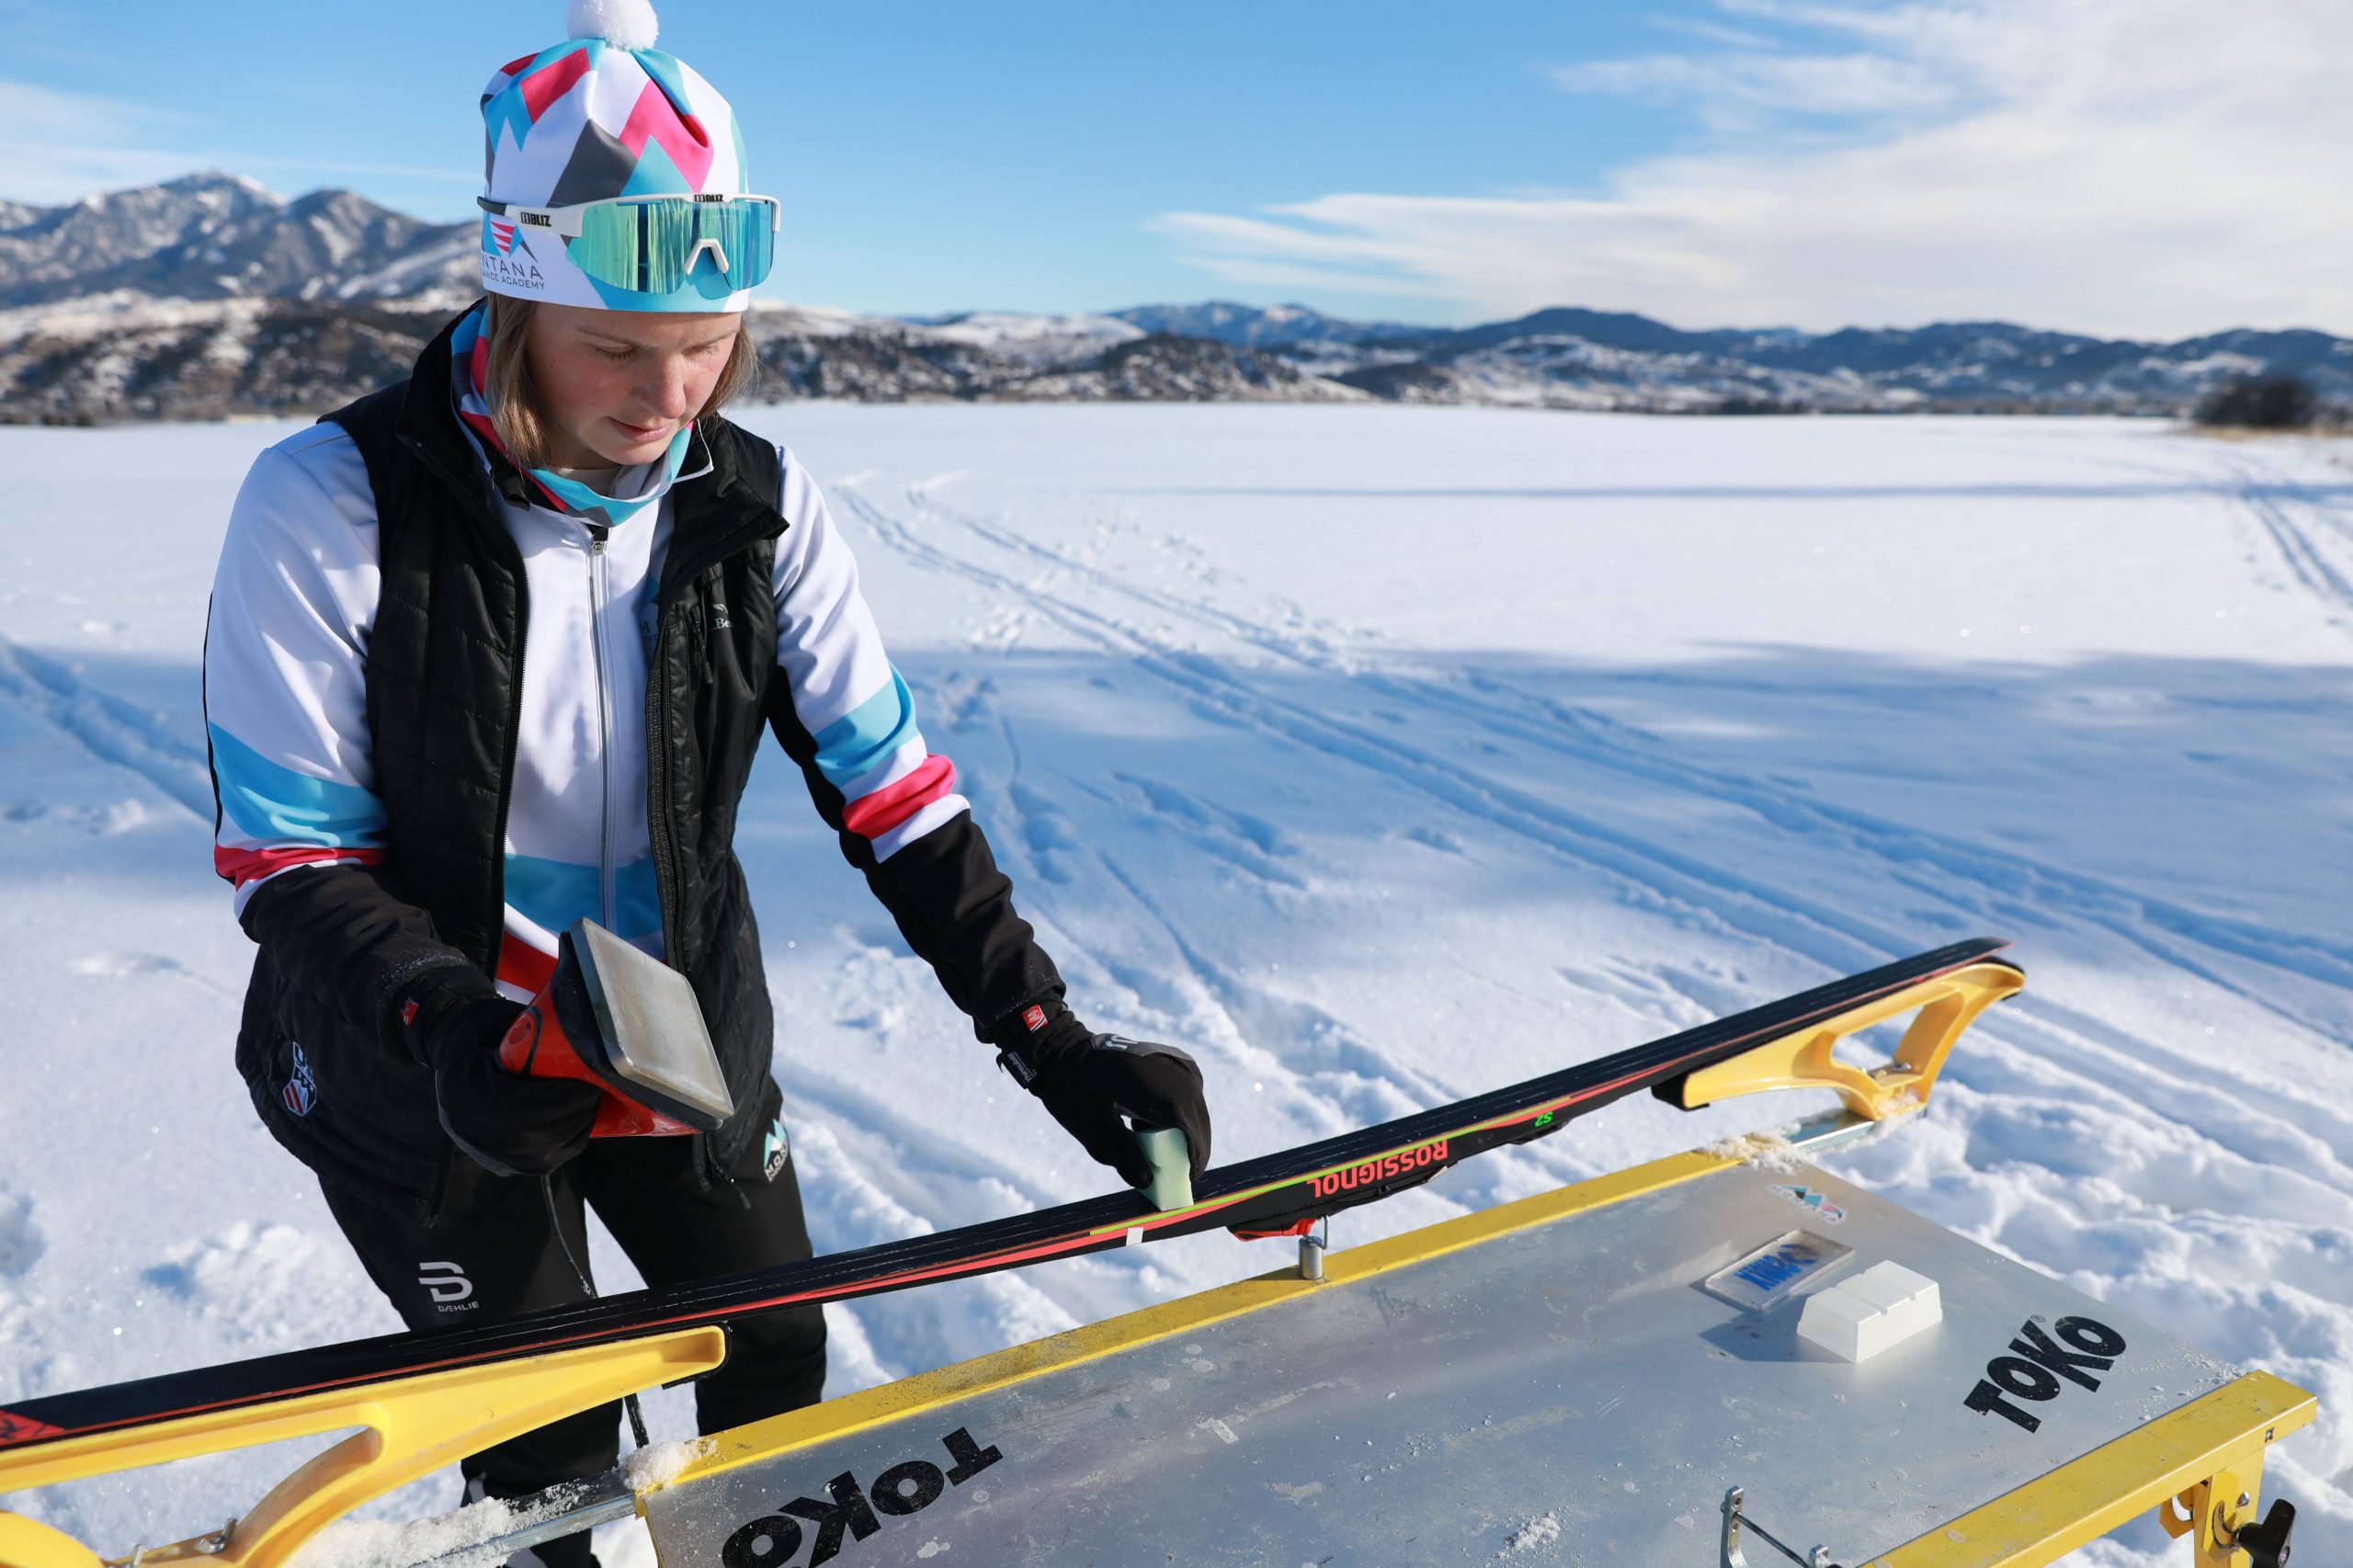
After scraping, it’s time to brush out excess wax. Some skiers go deep into the world of brushes. You can find numerous brush types: hard steel, soft steel, horsehair, soft brass, blue nylon, or white nylon to rattle off a few. We suggest beginning with a two-brush system. In this case, begin a bronze brush and go over the ski a few times from tip to tail – in the direction the ski will glide on the snow. Press the brush gently. No need to run the brush down the length of the ski in a single pass.
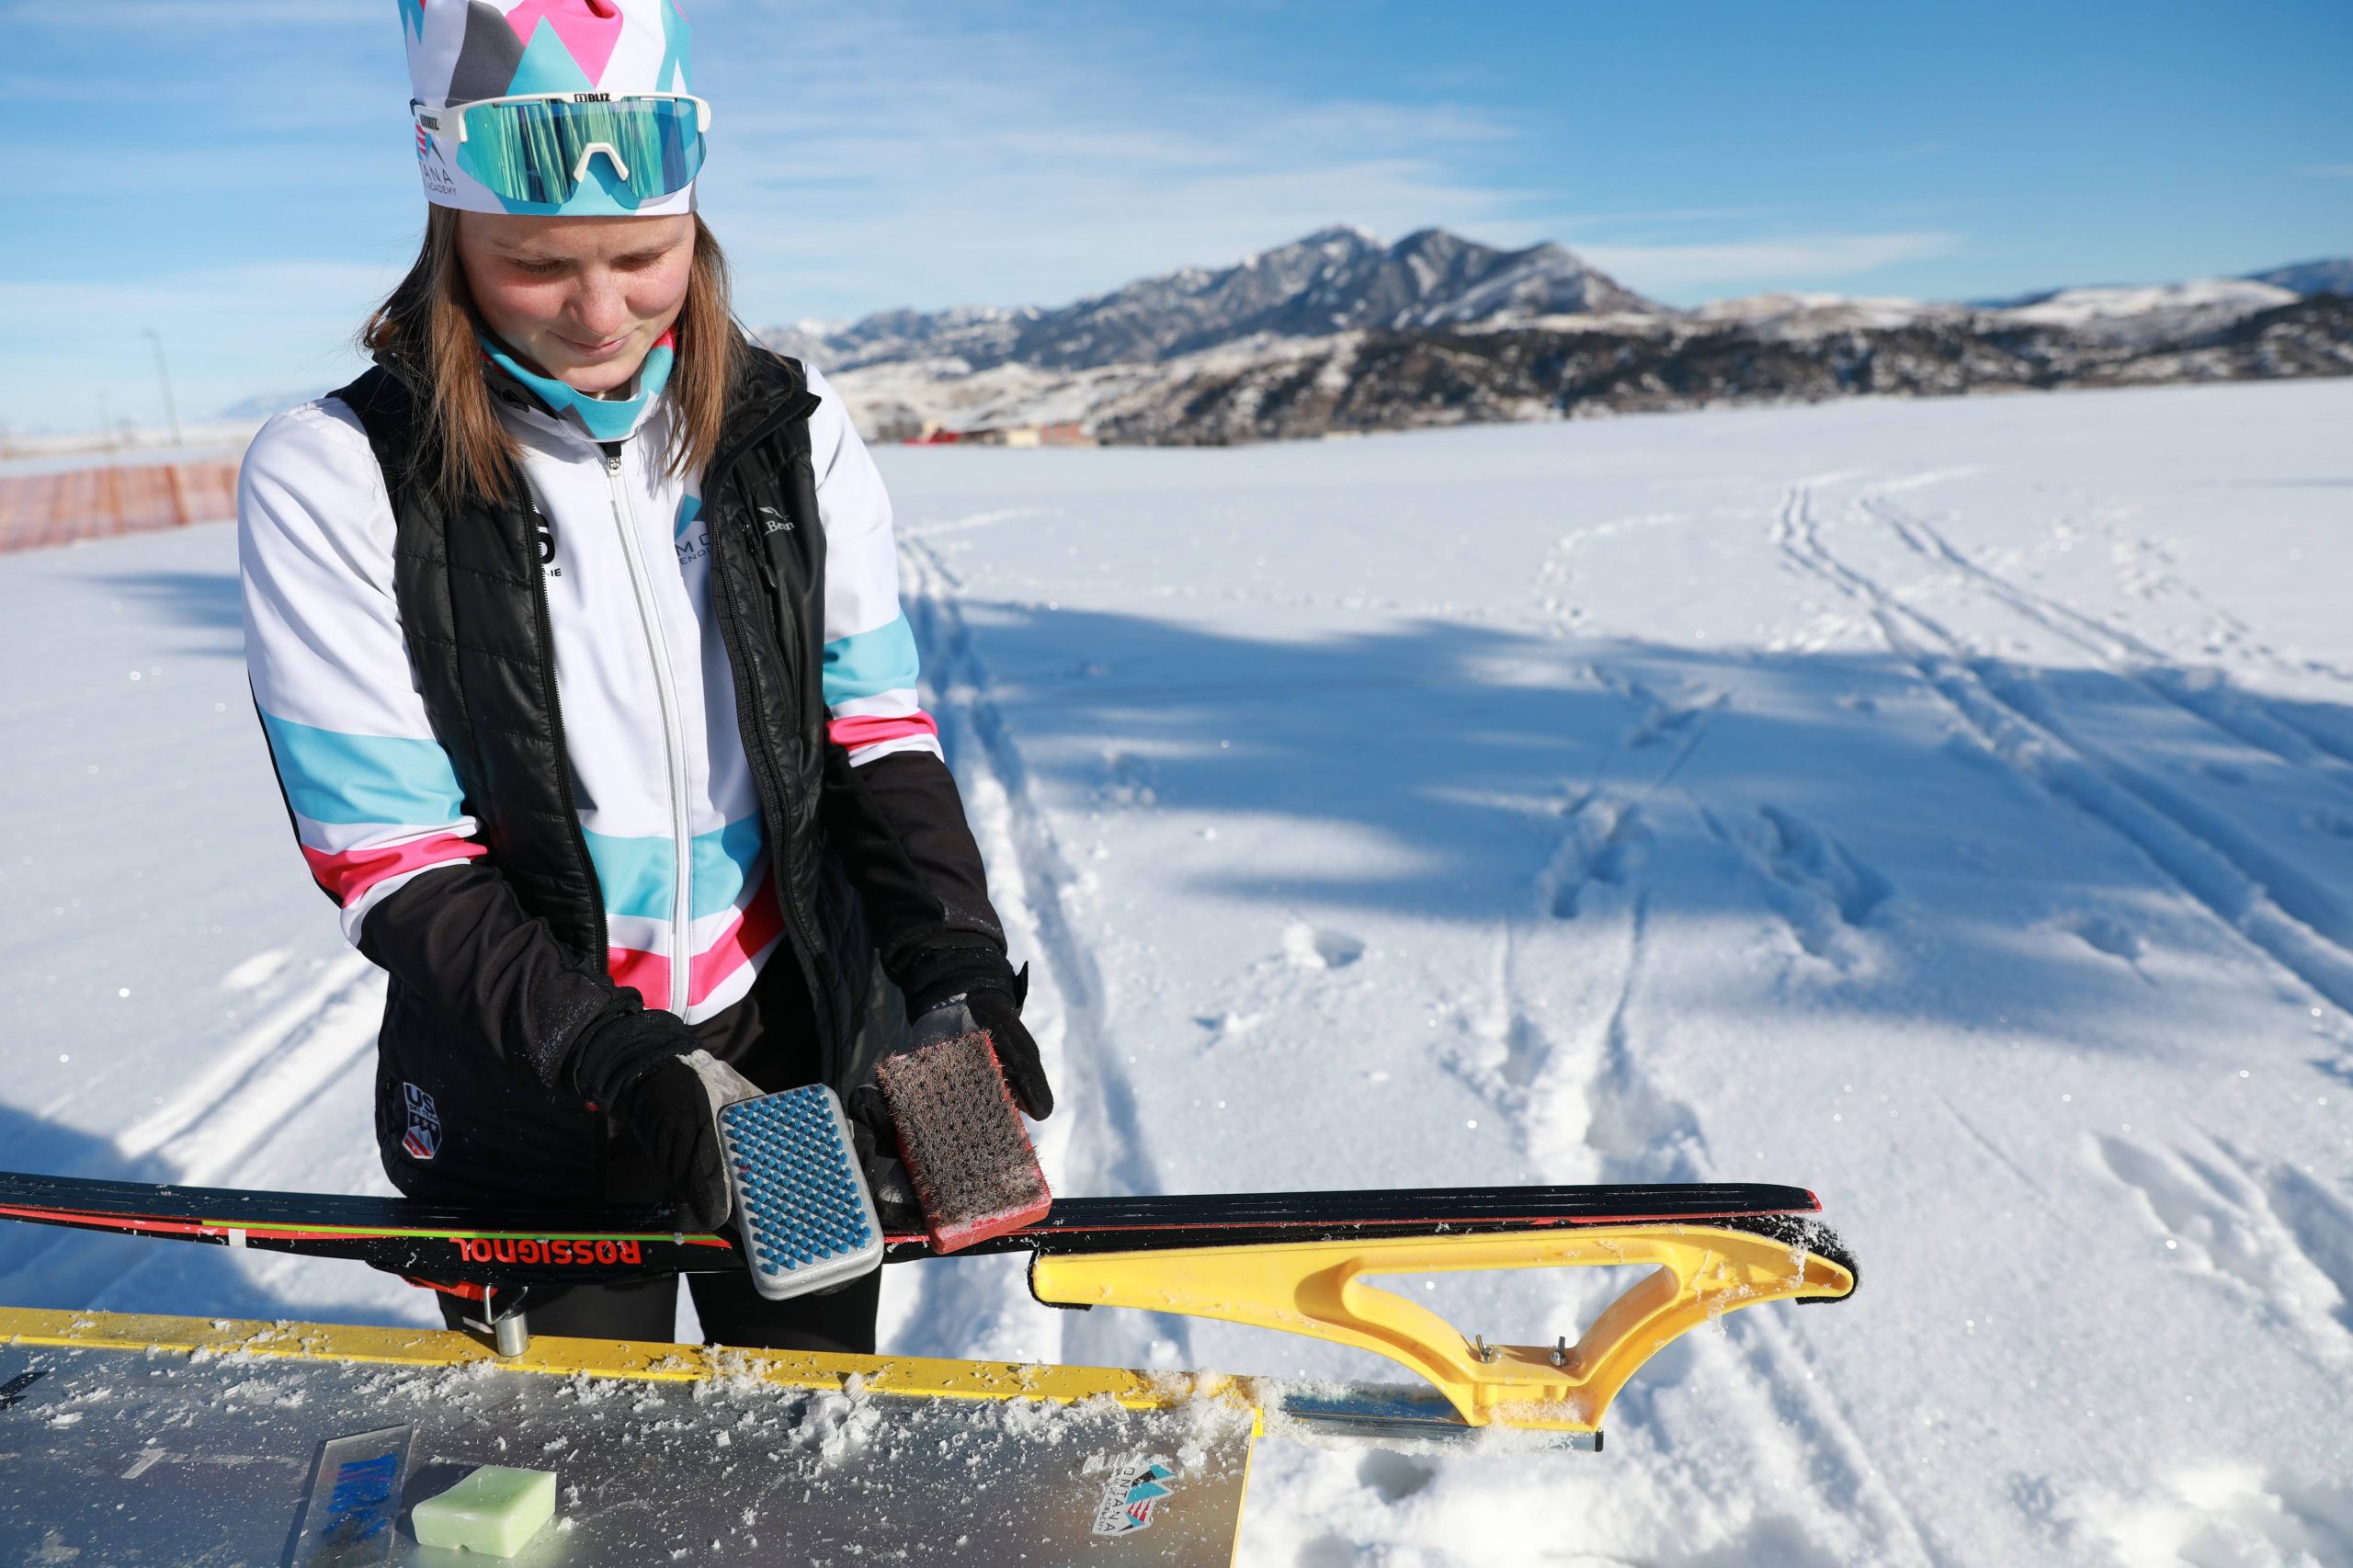
Simply brush a few feet of ski base, and repeat, again moving from tip to tail. After two to three passes using the bronze brush, switch to a nylon brush and repeat the process. The nylon brush can handle a little more pressure and you can stop brushing the ski when it looks polished.
Applying paraffin with a spray:
First, make sure to be in a well-ventilated room. Shake the spray for a few seconds and spray an even layer on to your ski. Use a felt cork to evenly distribute the liquid glide and let it sit for 15-20 min. For a longer-lasting glide, it’s recommended to have the ski sit overnight with the spray but this is not necessary. Most sprays give you instructions on the bottle. When the spray has dried it’s time to bring out your soft nylon brush (it’s usually blue) and go over the ski from tip to tip in the direction the ski will glide on the snow and you can stop brushing the ski when it looks polished.
The base of a ski will eventually dry out unless you take care of it. If you know you are not going to use your skis for multiple weeks on an end, make sure to cover the ski with a layer of wax. If the base looks grey, it means that it’s dry and needs a new layer of wax. Neglected skis will lose their speed and make you work harder.
Lina Hultinhas an MS in Exercise Physiology and Nutrition Science and a BS in Sports and Physical Education and five years of international nordic ski coaching experience. Lina has been involved in racing and coaching in Sweden, Norway, and the United States which has provided Lina a multitude of diverse experiences as a student, skier, and coach. Lina coached at the Nordic Junior World Championship in 2017, US Junior Nationals 2017, 18 & 19 as well as four full summers at Sommereventyret in Meråker, Norway. She was recently awarded a US Cross Country Ski Team Women’s Coaching Fellowship. Lina is is a U.S. Ski & Snowboard level 200 certified coach. She is also a Co-Director of the Montana Endurance Academy in Bozeman, Montana.


