* This is a part of a multi-piece series on photographing skiing, ranging from capturing skiing on your smartphone to taking a deep dive into how professionals capture skiing on the World Cup.
Just about everyone carries around a smartphone these days. Also, bundled up in that hi-tech rectangle is a tiny, powerful camera. People often joke that their phone takes a better photo than they could with a manual camera. For many users, that is often true at first. Smartphones are the “Auto” mode of a standard camera. The phone’s software uses algorithms to adjust settings for the user as it calculates for the best average outcome. Dig a little deeper, and your smartphone can be a tool allowing you to take creative liberties when capturing photos. Whether you want to capture your friends, family, or racers skiing, improve your phone photography skills, or find new perspectives to share through your images, here are some tips and tricks to take your smartphone photography to the next level and maximize the tiny powerful device in your pocket.
Light & Focus
Tap the screen on your phone of the person or object that you want to focus on. This will ensure that your subject is crisp in the picture. On an iPhone, when you tap on the screen, a yellow box with a sun icon appears. If you tap and hold, you can drag your finger up or down to change the brightness of your image too.
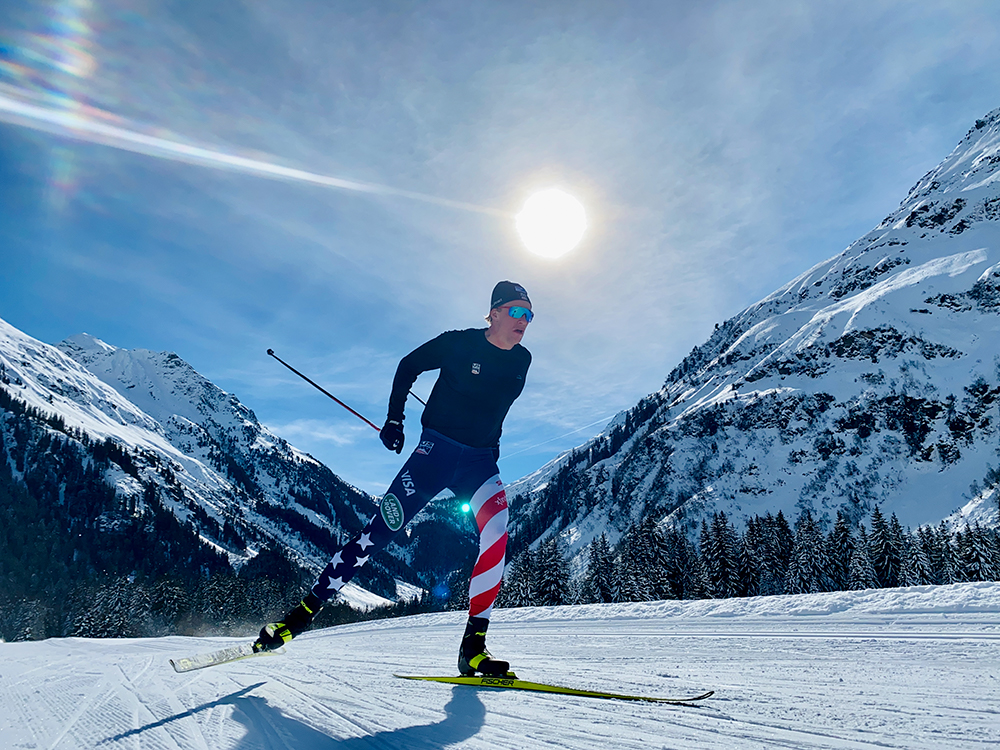
Make note of what angle the sun is coming from. If your subject is facing away from the sun, their face might be shadowed and dark unless you are trying to achieve a silhouette effect. Try to have the skier facing the sun so they are well lit. Oftentimes smartphone cameras will have a hard time focusing if your subject is too dark. I would recommend keeping your flash disabled unless you are in a situation where there is not enough light for the camera to register the subject.
Framing
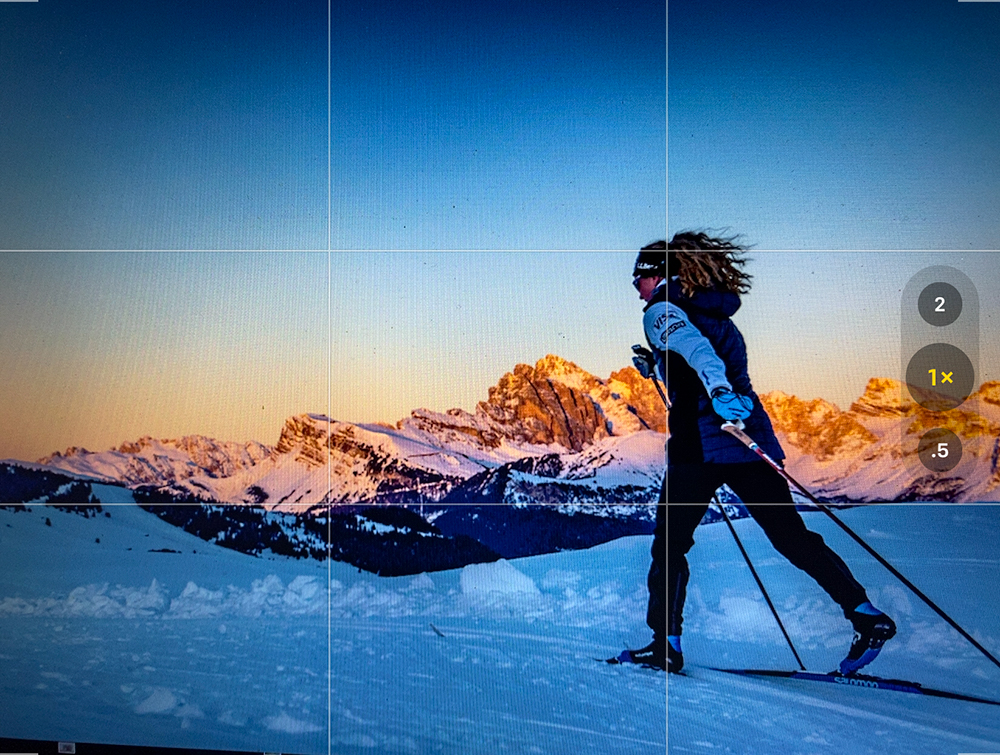
Take a look around and see how you want to frame your photo. The Rule of Thirds is a great place to start. We apply the Rule of Thirds by aligning a subject with the guidelines and their intersection points. Check out the grid layout on the image below. The skier is aligned along the intersecting lines on the right-hand third of the image. This pulls the viewer’s attention to the subject and balances out the picture without being too symmetrical. You can imagine these gridlines or apply the grid in your phone settings as a real-time guide when shooting images. In addition, trees, horizons, banners, or signage can help frame your photo and draw attention to the subject you want to highlight.
Action
The best way to capture the action of skiing is to take a burst of pictures and select the best images after. It can be difficult to freeze an exact moment when someone is flying by you. In photo-speak, we use the term “burst” to describe shooting numerous images per second. To shoot in burst mode on an iPhone, you slide the capture button to the left and hold until you want your phone to stop taking photos (*Note: If you have an older iOS version, you tap and hold the capture button).
Perspective
Most people capture pictures from eye level, but if you are looking to take your photos to the next level, try out different perspectives. Try crouching down near the ground and take your image at an upward angle, or climb up a hill and get a higher perspective looking down on your subject. Playing around with perspective can be a really fun way to capture similar action scenes but make it look exciting and new.

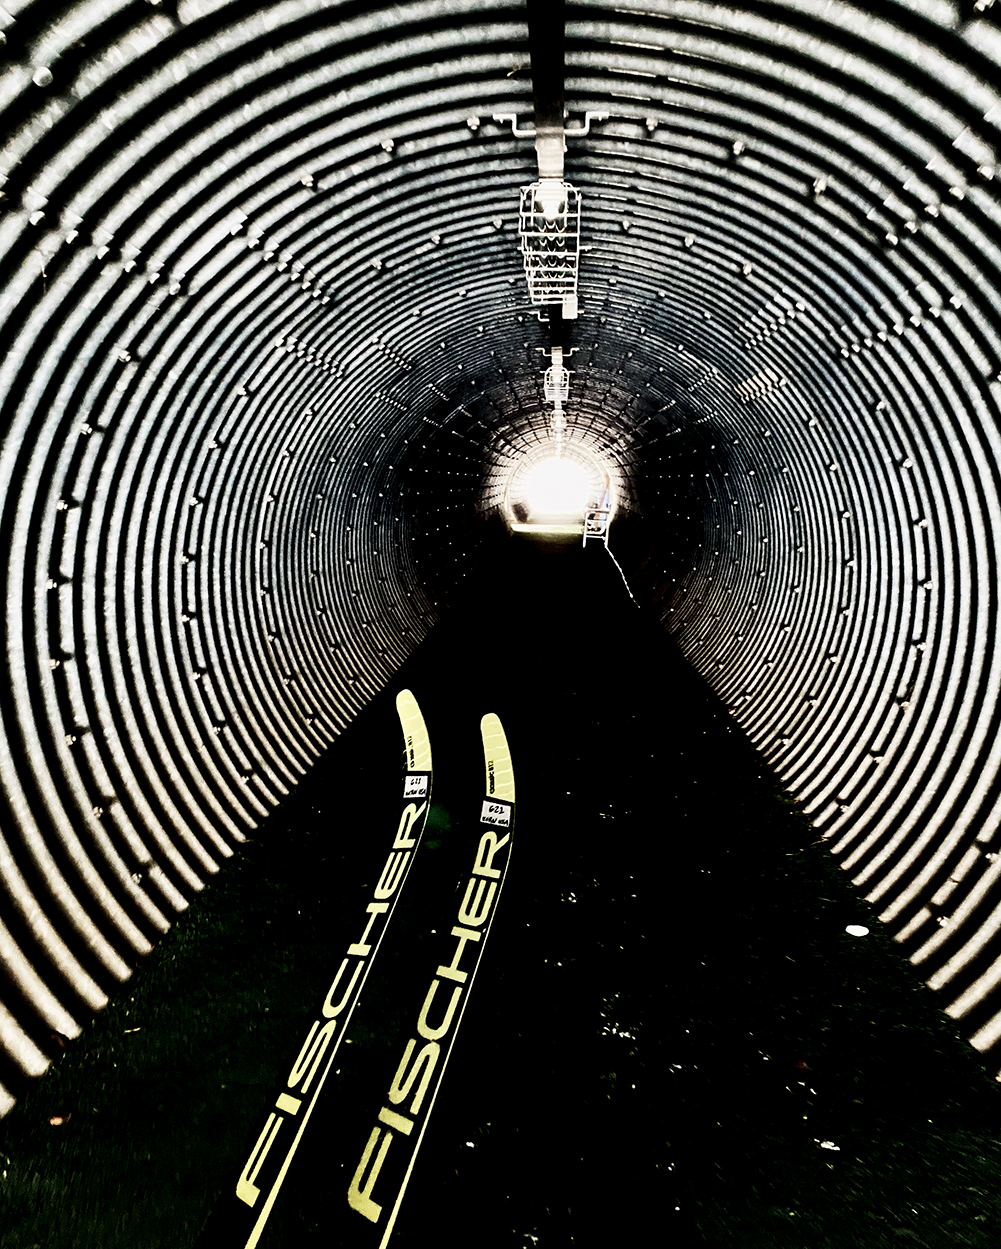
Patterns
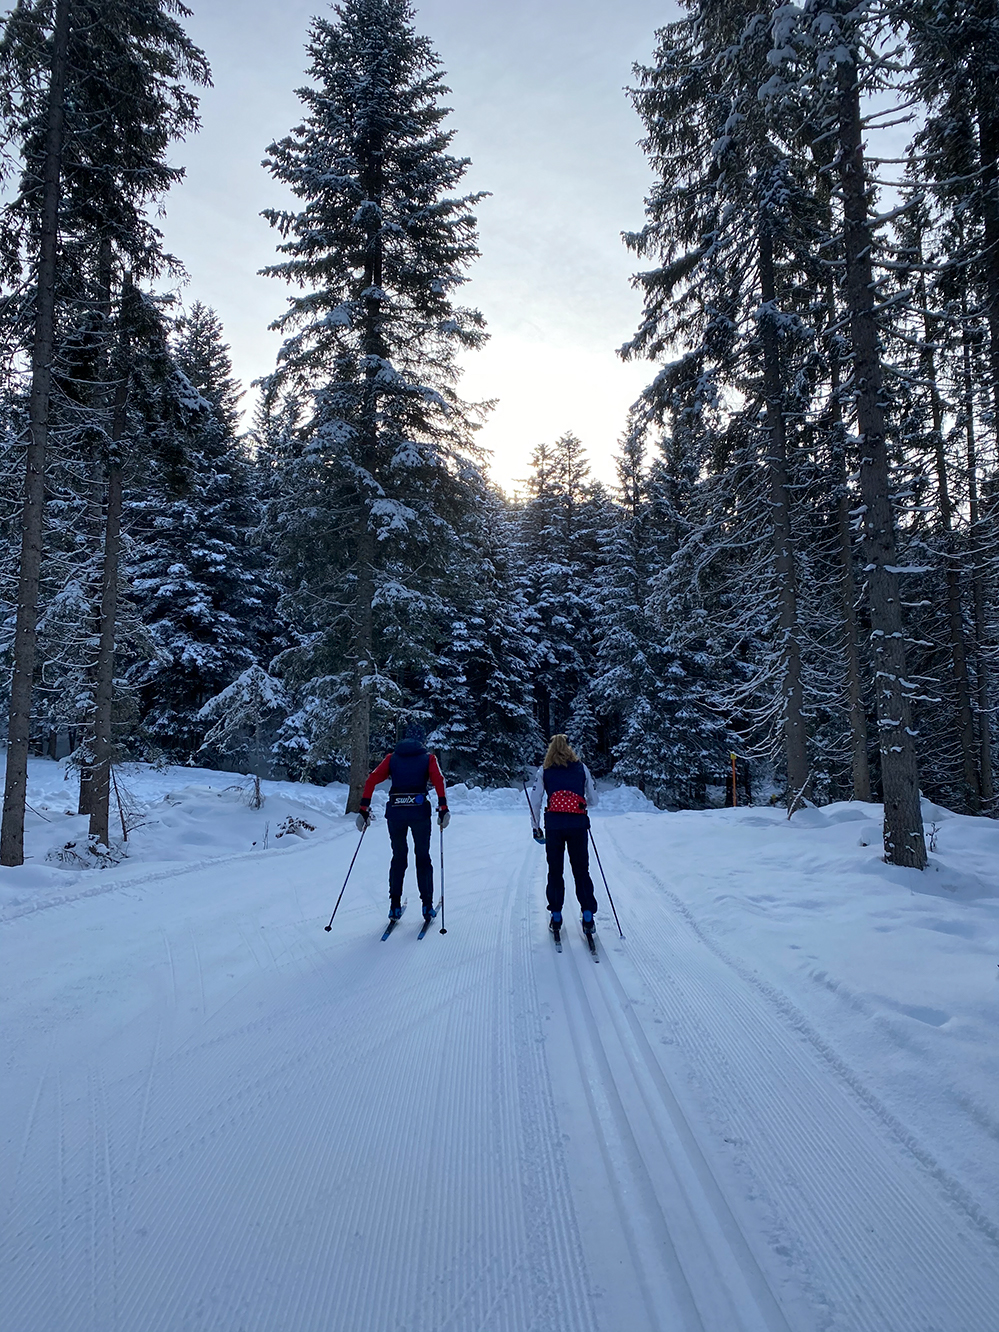
Everyone loves a bit of pattern — it captures attention. Keep your eyes peeled for patterns and symmetry in tracks, trees, or snowflakes, for example. Who doesn’t love untouched, fresh corduroy or glassy reflective lakes?

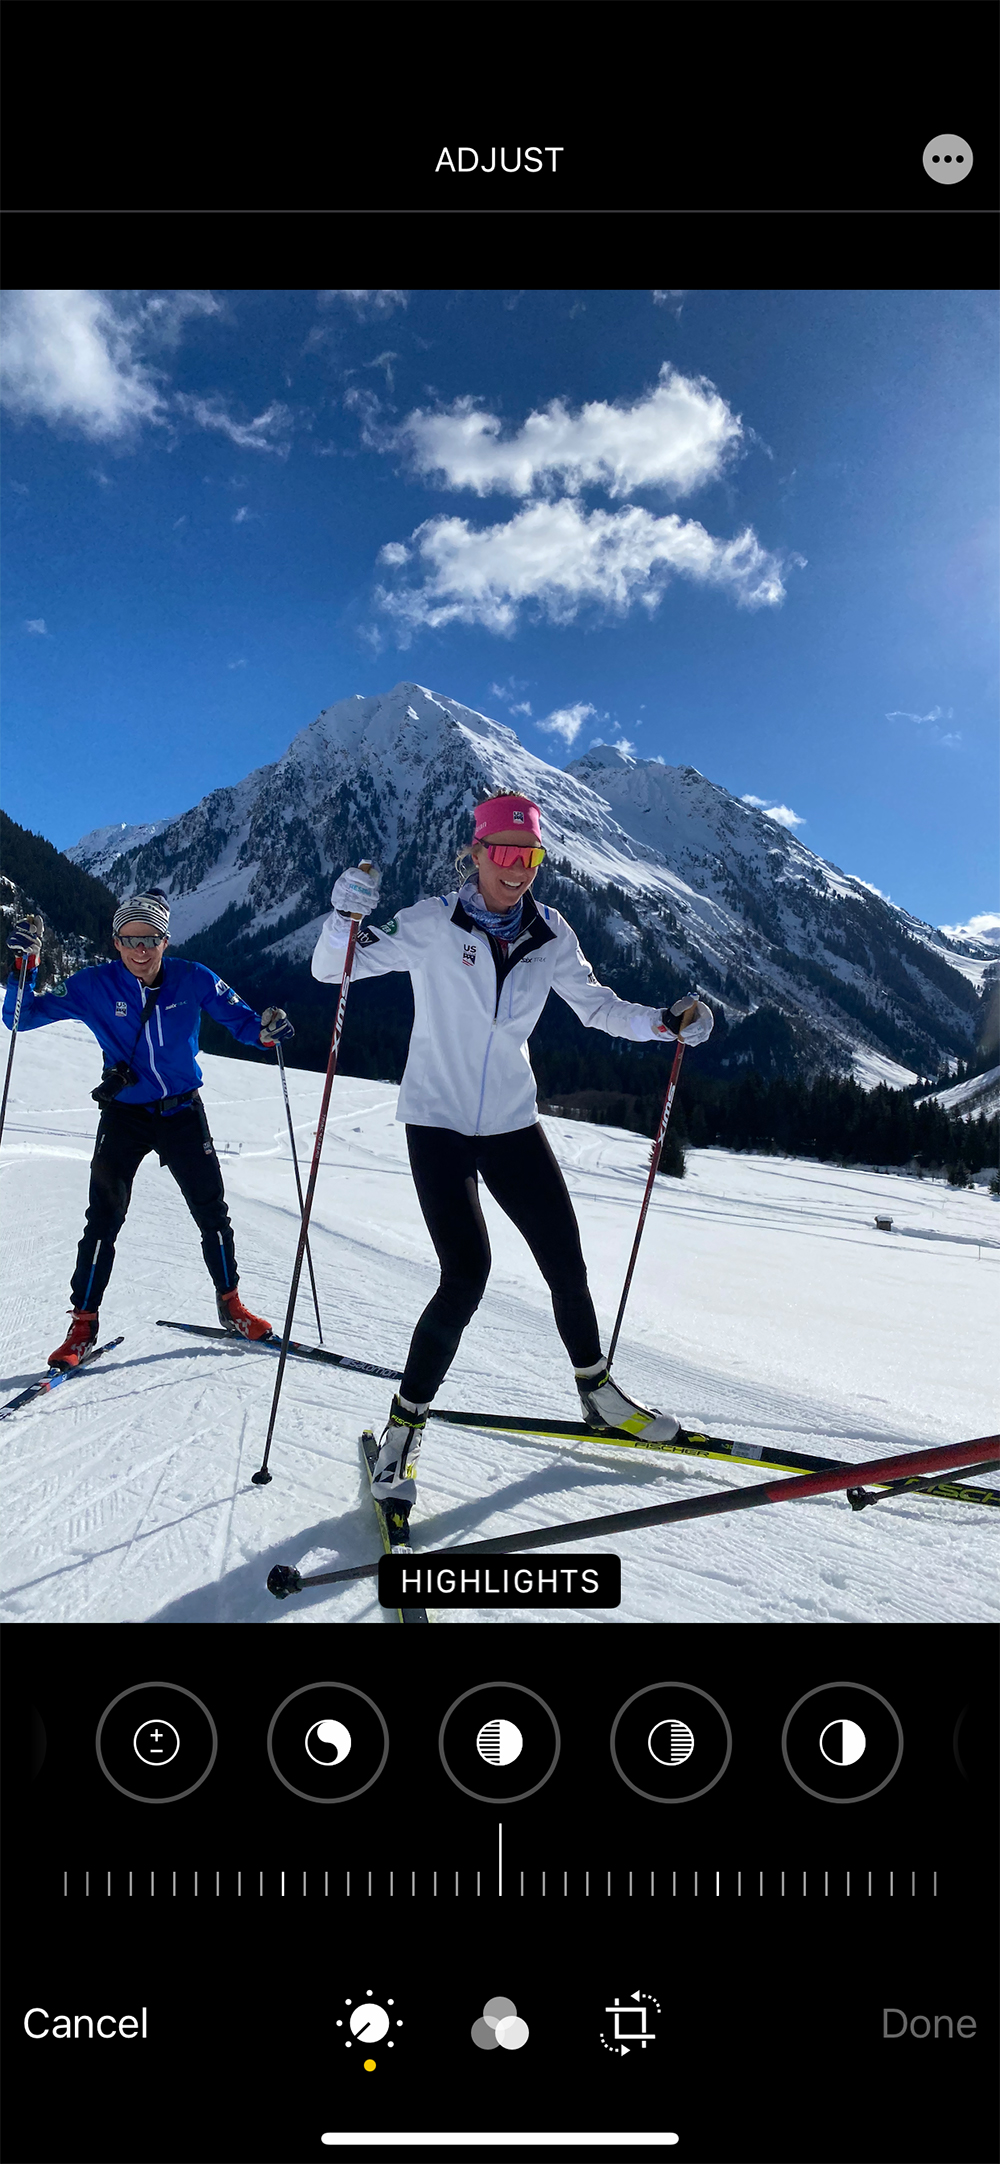
Editing
Even if you didn’t quite frame the shot how you intended at the time or the light wasn’t quite right, smartphones have quick and easy editing tools to help you make adjustments to your photos on the go. Some of my favorite settings to adjust are brilliance, highlights and shadows, and contrast. Often when taking pictures of skiing in the winter, the snow can be quite bright and over-exposed which you can easily adjust by lowering the highlights and brightening the shadows for detail.
Just like training for skiing, practice and experimentation are how you can learn and improve your photography skills, whether you are a professional photographer or someone who wants to learn how to capture skiing on the smartphone for the first time.
You can find some of Kern’s images on Instagram @juliakernski. You can also find more info and photos at juliakernski.com.


