*This is the third piece in a multi-part series on photographing skiing, ranging from capturing skiing on your smartphone to taking a deep dive into how professionals capture skiing on the World Cup. Take a look at Smartphone Photography and Manual Camera Basics in case you missed them.
The first step to manual camera photography is understanding the parts of your manual camera. Once you have a basic understanding of how a manual camera works, the functionality built into this tool reveals endless creative tools to paint on a blank canvas. Whether you are shooting in a snowstorm, on a sunny bluebird day, or at a night race, there are a lot of ways you can adjust to the environment and improve your photography.
File Types
Before you go out and shoot, you will want to decide which file type to capture your images in. This is something that cannot be changed after you take an image and is an important setting to decide on beforehand. Manual cameras often have 2-3 different file types for image capture: JPEG, RAW, and sometimes TIFF (not as relevant here). The file type determines how large your file size is, how easily it can be viewed on different devices and the array of much how post-processing capabilities you have.
JPEG
JPEG is the most common image format and the one you are likely familiar with. The images you see on your smartphone, thumbnails on your camera, or on a point-and-shoot camera are likely JPEG files. JPEGs are compressed images that are already processed and “developed” by your camera based on your camera settings. Those settings include white balance, color saturation, and color space, and help minimize your post-processing time.
JPEG Pros
Most common image format. When sharing images with other people, devices, on social media. JPEGs are easy to share and compatible with most software.
File sizes are smaller. JPEGs take up less storage space allowing you to save more images on your devices without the worry of large file sizes. In addition, the images are quicker to capture since the file sizes are smaller.
Already processed. JPEGs are already edited versions in a sense, saving you editing time after the image has been captured.
JPEG Cons
Loses image information during compression. Since the files are compressed, it will be harder to extract and change information such as colors, dynamic range, or overexposed areas since that data will be potentially lost during compression.
Color limitations. When the file is compressed to a JPEG, the file is reduced to 8 bits which means that the full spectrum of colors that your camera can record is lost.
Camera settings matter. Since the camera processes the image based on the existing settings, certain camera settings such as sharpening can be irreversible.
RAW
Raw files are the “digital negative”, changing nothing about the image when storing the unprocessed image from the camera sensor. This is often the file type preferred by professional photographers because no information is lost and you have numerous options for post-process editing. (*Note: Depending on your camera, the RAW file type may be called something else such as NEF (Nikon), DNG, KDC (Kodak), RW2 (Panasonic), RAF (Fuji), ARW (Sony), CRW (Canon), and others. You may have to research what your camera RAW format file is called).
RAW Pros
Lossless information. All information is captured and stored in the file, no information is lost when storing the image.
Larger post-processing capabilities. The metadata can be altered (such as white balance, exposure, etc) when you edit the photo while keeping the original photo data intact.
More colors. Since there is no compression, a raw 12-bit file can contain a much larger range of color, up to 16.8 million times larger color range than a compressed JPEG file.
RAW Cons
Post-processing is often required. Raw images alone often look very dull since they have not been processed yet, so oftentimes, it takes more time to adjust your photos through post-process editing.
Large file types require more storage. Each RAW file fills more space on your memory card, computer, or other storage device compared to JPEGs. You will be able to save fewer images on your device for the same amount of storage.
Compatibility and sharing issues. Often, if you want to share your images you will need to convert your image to JPEG or another file type since RAW formats are not compatible with all software.

If you are looking to capture pictures but don’t want to spend time editing them afterward, JPEG will be your ideal file type. Some cameras offer the option to select JPEG basic, or fine, allowing for a little more flexibility in how compressed the stored files are. However, if you are looking for the darkroom equivalent of creativity and you plan on diving into the world of post-processing images and adding a creative touch, shoot RAW images. This affords you the full range of editing capabilities.
Post Processing
The post-processing piece of photography is an area that offers endless opportunities for creativity. There is no limit to what you can learn about post-processing images and it can be an exciting area to dive into. I will touch on the basics of editing software so that if you decide to shoot RAW images, you can have an understanding of how to develop your photos.
There are hundreds of editing software choices to choose from. The most well-known software is Adobe Lightroom which is user-friendly and can be used as both a photo editor and photo organizer. Most RAW files are compatible with this software and your editing options are limitless. Other photo editing software includes Adobe Photoshop, Skylum Luminar, ON1, Corel Paint Shop, DxO, and many more that are offered by camera manufacturers. This is not an exhaustive list and other free or paid software options are available.
When choosing editing software, you should factor in how much/if you are willing to pay for software, where you will store your images, what file type you are using, and which software seems to be the most user-friendly for you.
Shooting a Snowscape – An Exploration of White Scenery
Now that you have a basic understanding of file types, it is time to make the most of your camera when capturing images of skiing or other activities! Shooting in the snow can be both challenging and exciting since everything seems bright and white.
Shoot your images in RAW. The first step will be to shoot your images in RAW. Shooting snowscapes often leads to overexposed images due to the white-brightness of the snow or being underexposed due to the lack of daylight in the winter. Your goal is to retain as much information as possible on the image file so that you can adjust any setting in post-processing.
Set your camera exposure compensation to +1 or +2. Essentially, exposure compensation is an override of the camera’s sensor. Without exposure compensation, the camera’s software will default to underexposing snowscapes (the camera detects the copious amounts of light reflected off the snow) which makes the white snow look gray in your unprocessed images.

Adjust your metering. Metering settings allow you to tell the camera if it should measure the light coming into the camera from a single spot (spot metering) or measure light from the whole frame (evaluative metering). Often, evaluative metering will produce more consistently exposed images.
Shoot in aperture priority. This function allows you to focus on tuning in your depth of field while ensuring that your images do not become over or underexposed in the bright white spaces.
Experiment with white balance. One of the most tricky aspects of shooting in a snowy environment is finding the proper white balance. It may vary depending on the situation, so my suggestion would be to experiment with your white balance settings. There is no better way to learn the power of white balance than testing it out in the snow and seeing how much it changes the look of an image. Begin with auto, but if the snow has a blue tint, try adjusting your white balance to cloud/shade or flash. If you want to explore a bit further, change your setting to sunny/daylight and see how that modifies your image. Just a reminder, by shooting in RAW, you have the option to choose an array of white balance settings when editing.

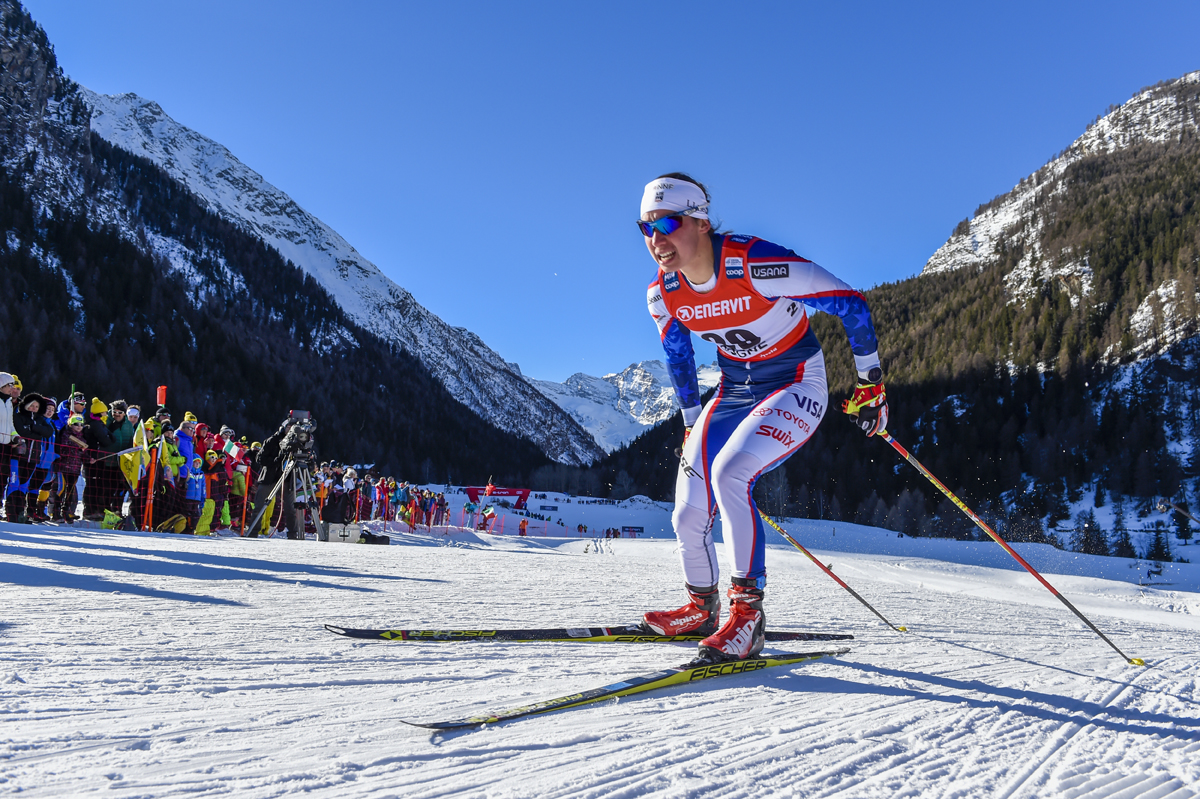
Look for contrast. Take a look around and see what catches your eye in the white-blanket snowscape. Is it a skier striding in a white field or a lone tree in an open meadow? Seeking out subjects that provide contrast to the white backdrop can make for eye-capturing pictures.
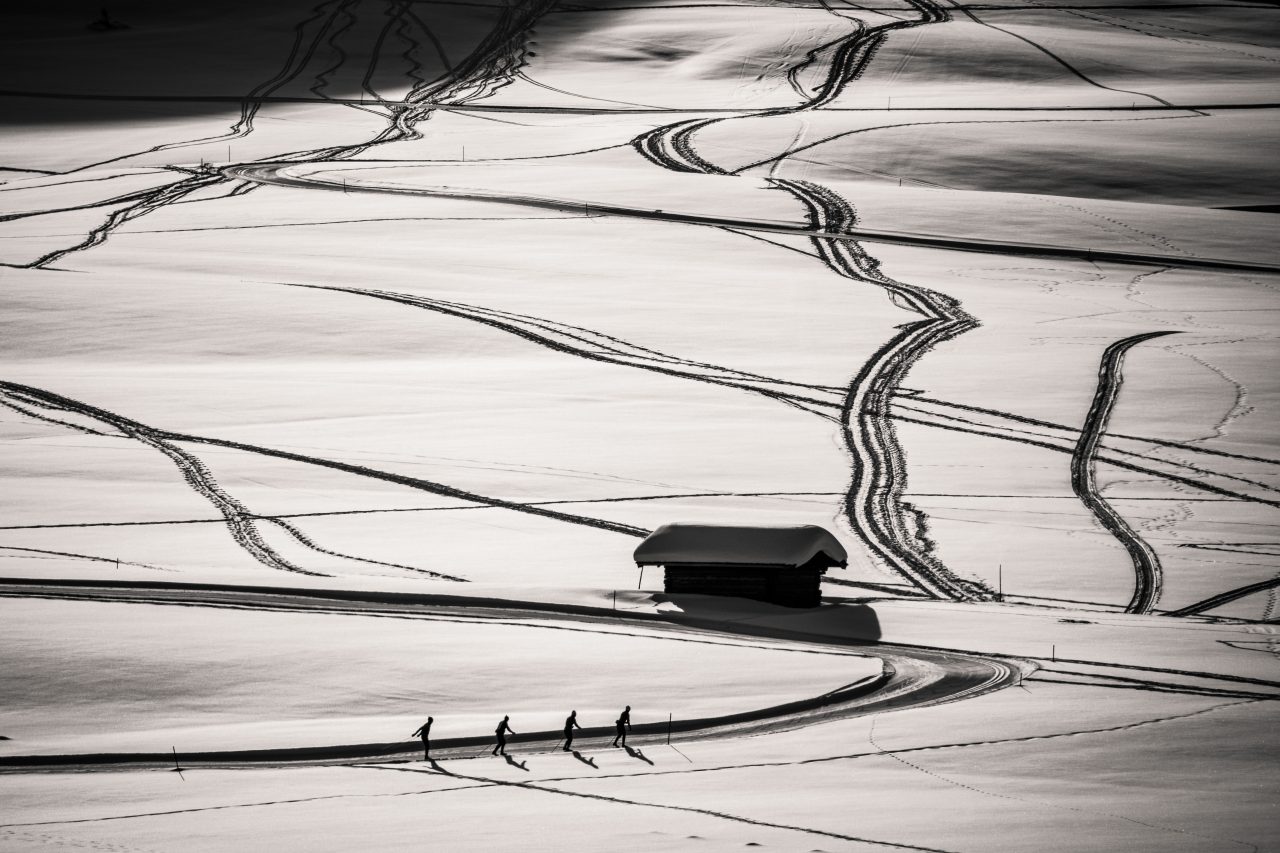
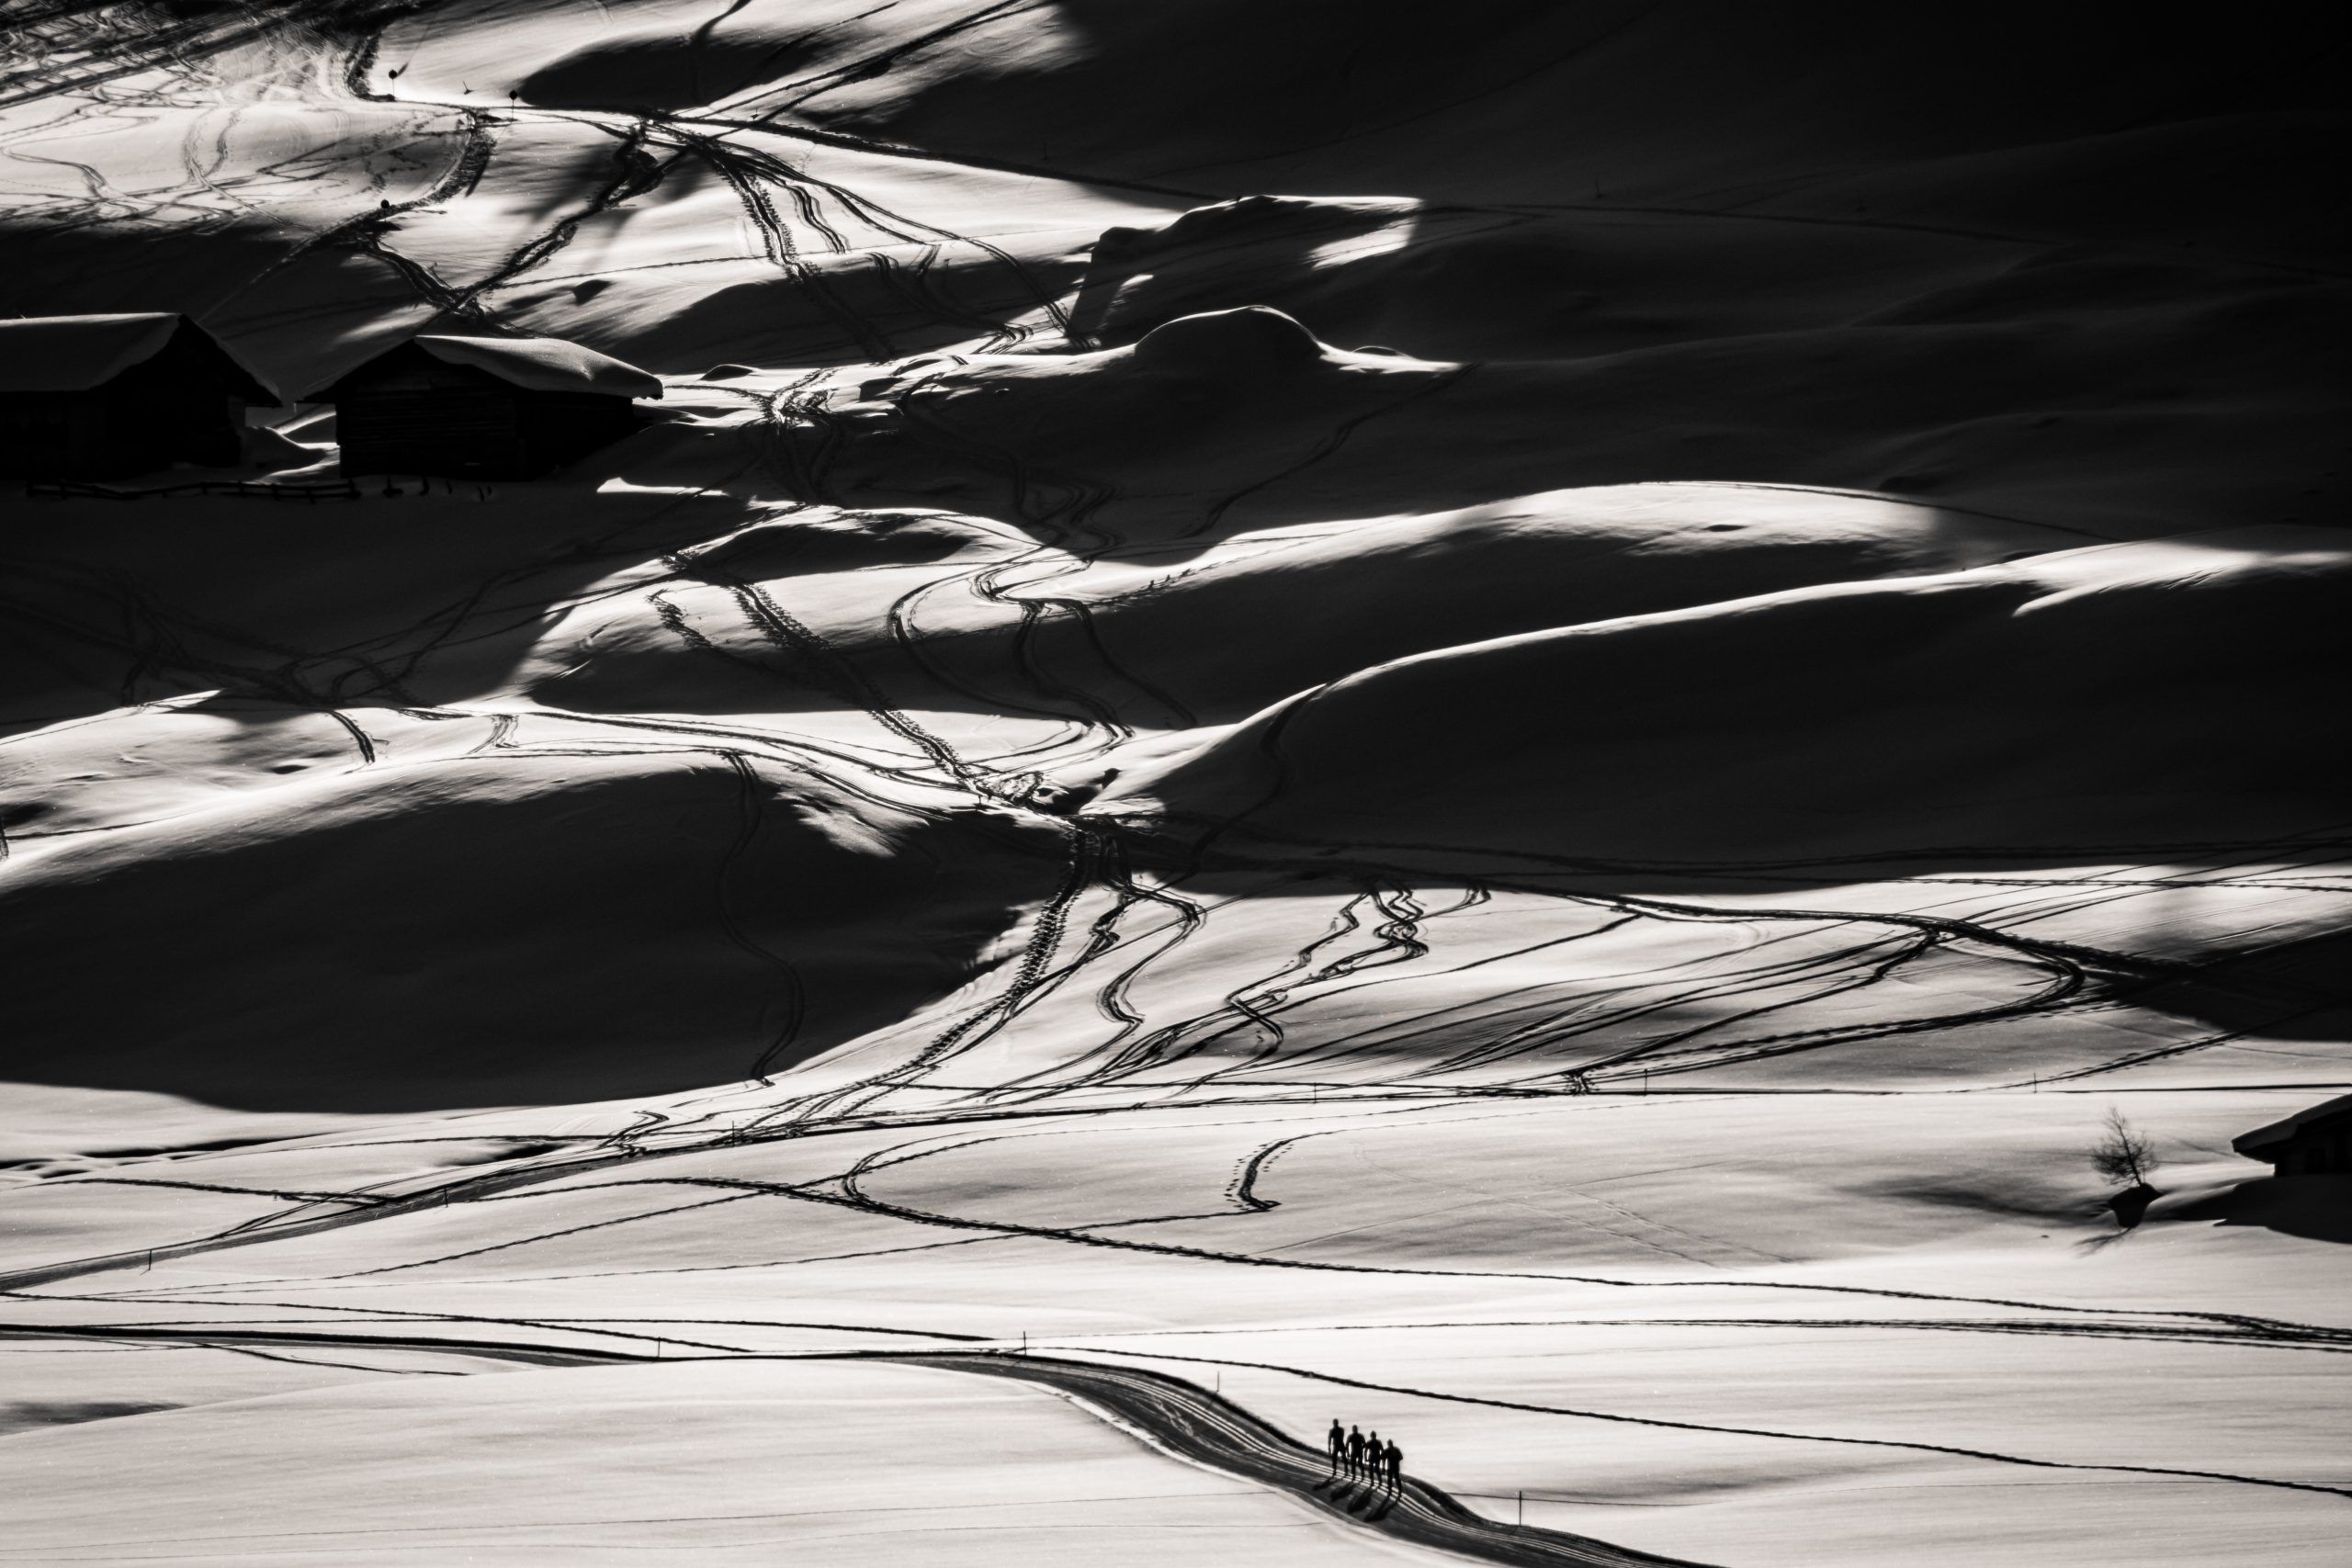
One beautiful aspect of snowscapes is their extreme light and dark contrasts. For this reason, snow photography can be beautiful presented in black and white. The crisp, bright nature of snow creates stark outlines or large shadows that add a dramatic feel.
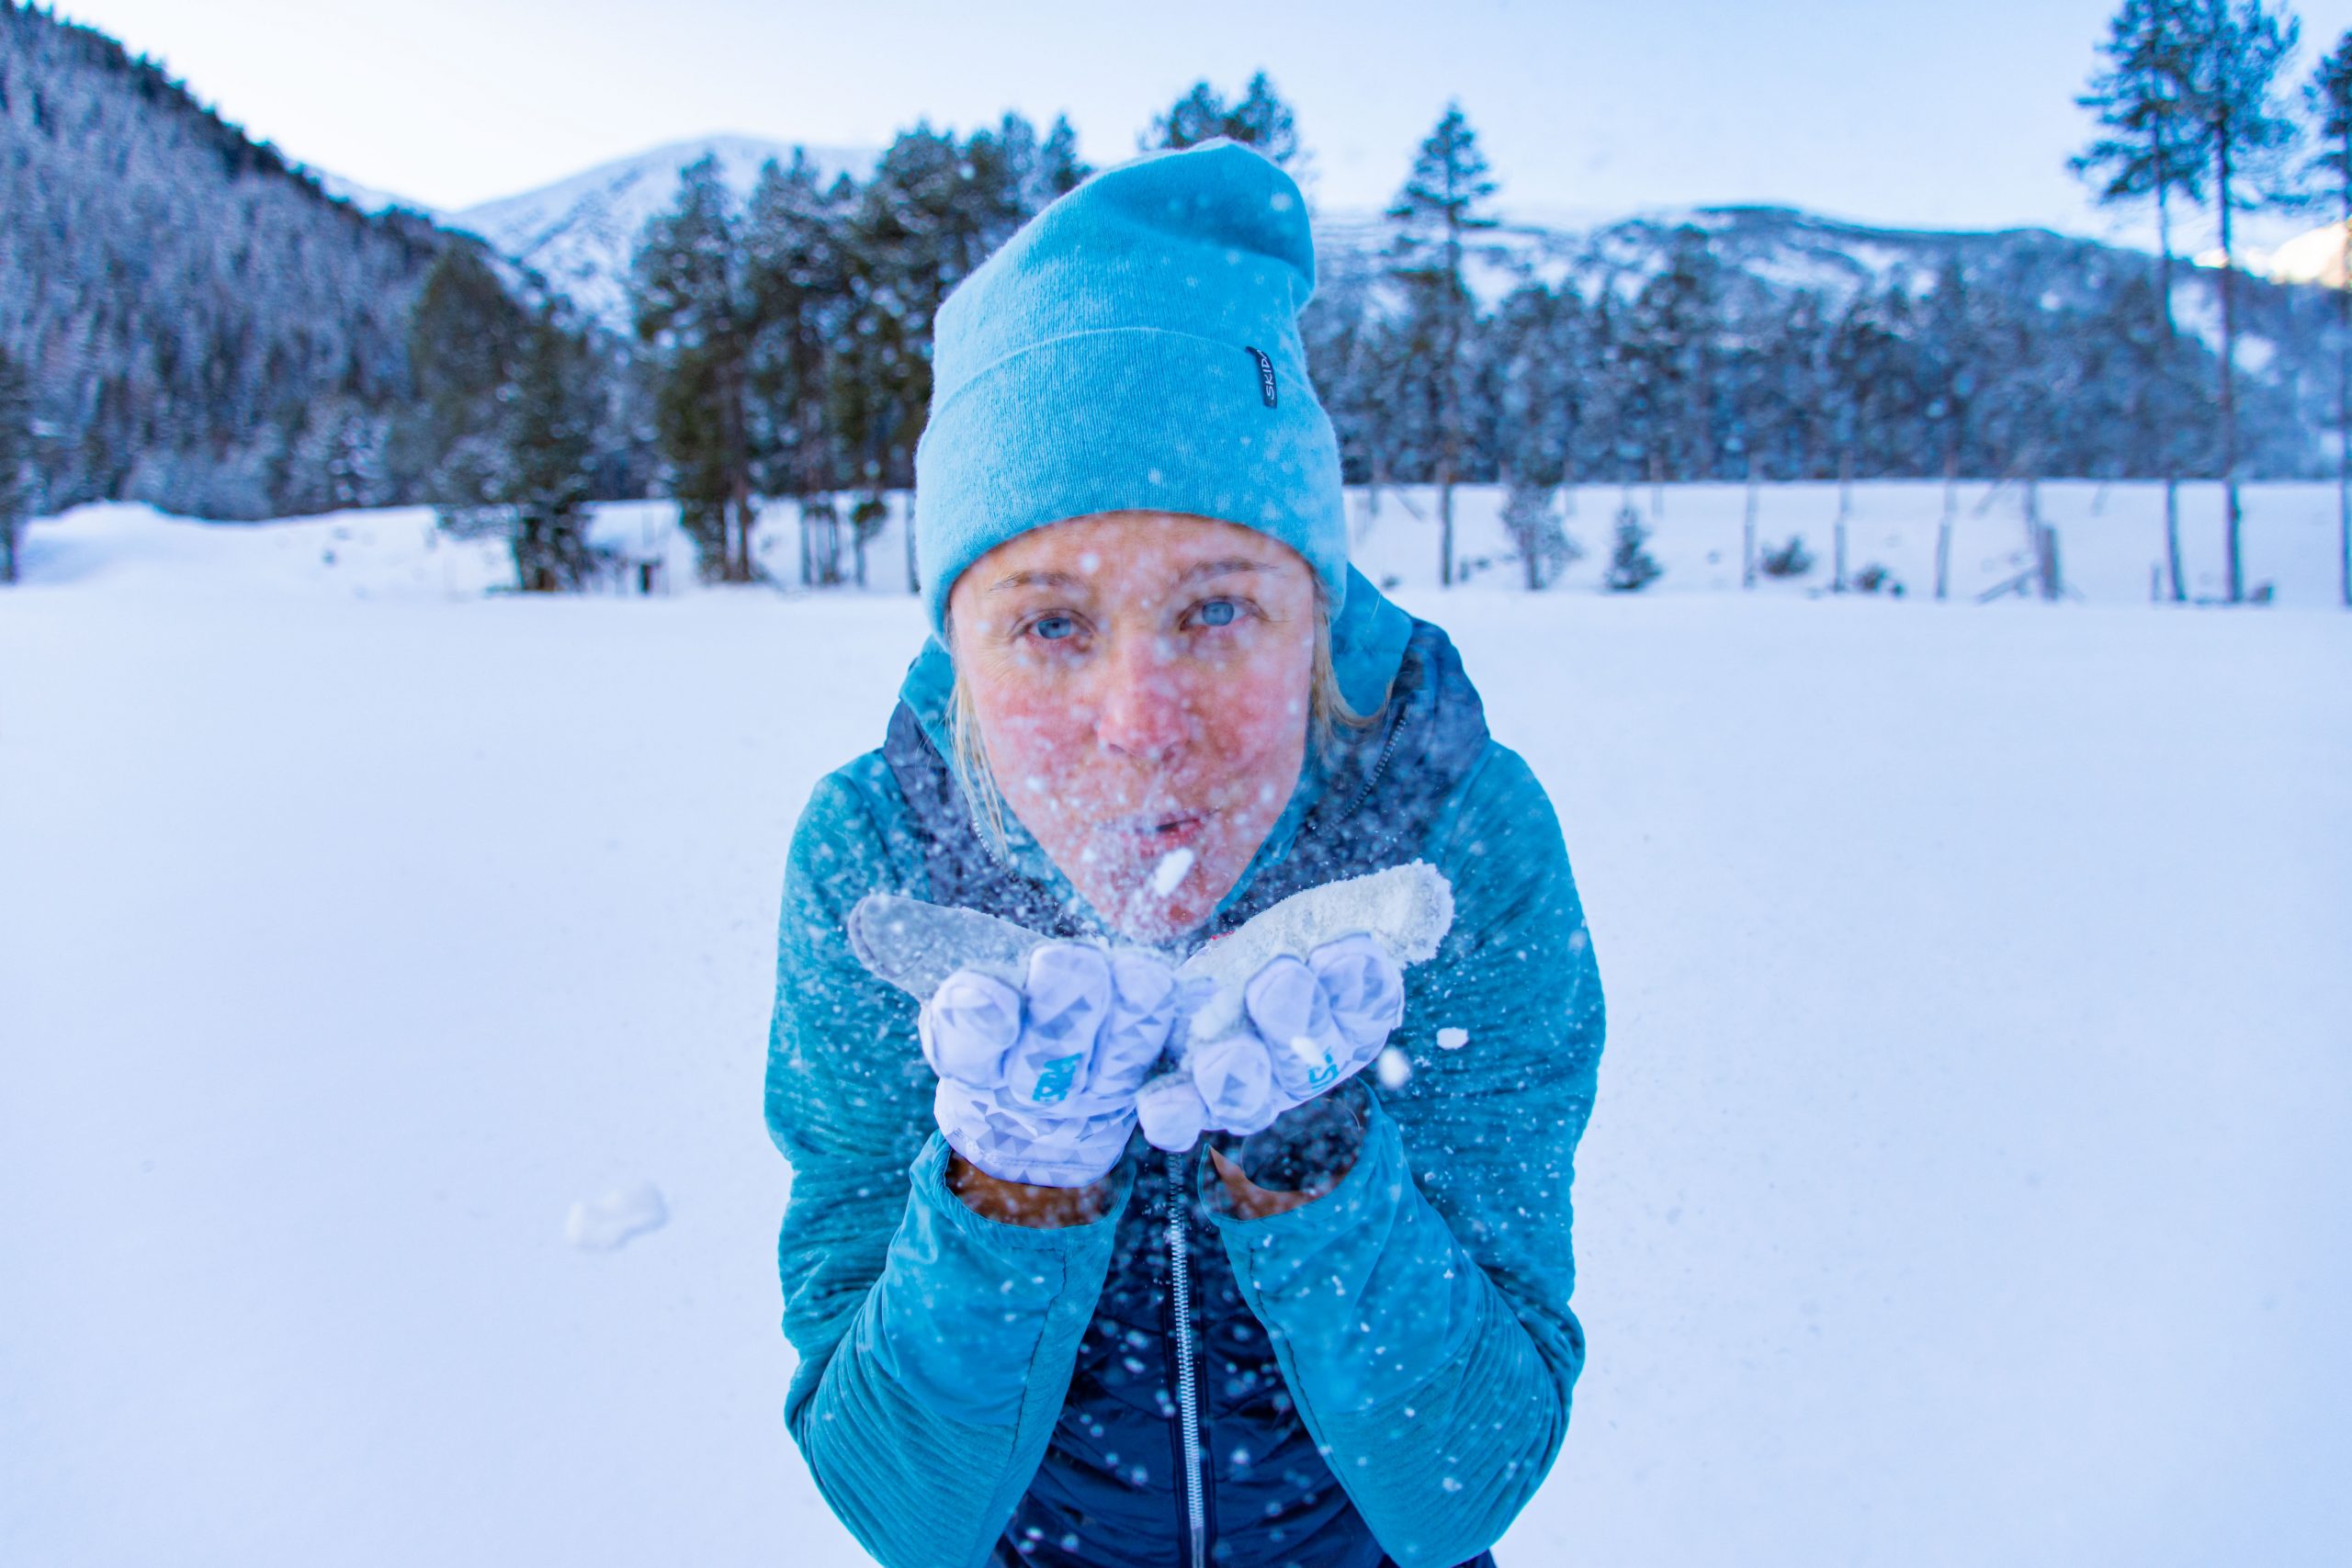
Play with the snow! Falling snow, spraying snow off of skis, or throwing snow can be a fun way to add movement or action to your photo.